Vocal Mixing Tips
Introduction
There’s rather a lot you may get away with within your music, however, the one factor your listeners won’t ever forgive is the crappy vocal track. The human thoughts latch onto it and give the vast majority of its listening focus to it.
It is the one area you merely can not fail at otherwise you’ll by no means stop hearing about it. And till you get it right, you may by no means have a professional product. Recording and mixing vocals doesn’t have to be hard, it simply must be right.
The 2 most essential aspects to “record and mix vocals“ are implied in that phrase right there. There’s the recording section and then there is the mixing section.
When recording, representing your voice is probably the most correct, and pristine means is about what not to do. It is a considerably passive stage where as long as you nail your efficiency while dodging particular recording errors you will be fine.
When mixing, polishing the ultimate product is an active stage where you need to navigate the signal processing and effects plugins with data and talent otherwise you’ll sabotage your outcomes. While the earlier is the inventive part, mixing is the technical part.
You will need to be very attentive when you are at the stage to work on the vocals. No matter if you are at the part of microphone placement, isolating the vocals, or recording them entirely, you will need to pay attention to every single detail.
If you screw up that part, you might have some bad vocals which you cannot fix later in the mix. So take care of all the steps that you need to before even engaging with the recording, to be sure that you’ve done everything possible to record the best possible vocals.
If something happens to them afterwards, you will be sure that it is not the setting you placed for them and you will need to look for the problems somewhere else.
That’s why we compiled these 17 tips to help you out get the best outcome when you are working with the vocals and sort them out properly.
Below we will list some of the most essential vocal tips:
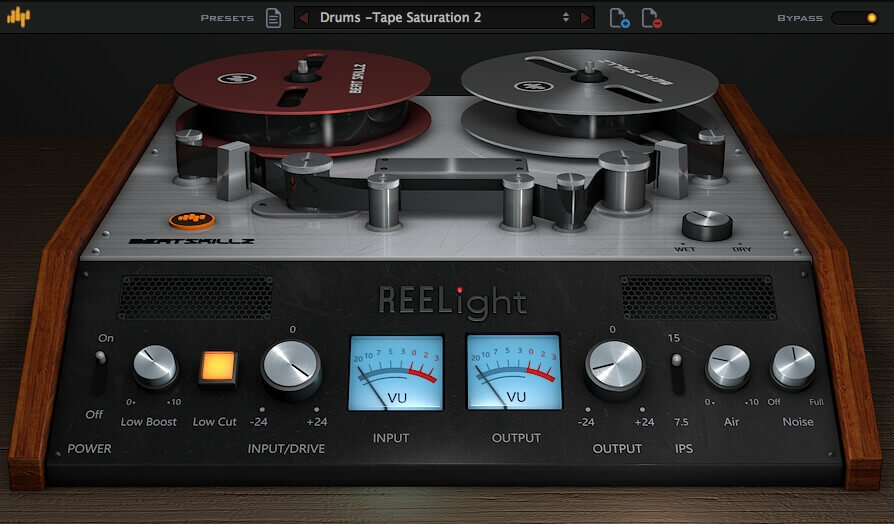
1. Always record a dry vocal signal
There’s the temptation to deal with recordings just like the old days once you have been committing straight to tape and you needed to get it right the first time.
Because of this you’d go forward and record your reverbs and different vocal effects later. There’s completely zero motive to do that today within the digital world.
The one effect that has any business hitting your signal earlier than the signal reaches your DAW is compression. If you don’t need to compress beforehand, then do not.
After you record your dry vocals, you might want to bring them up a bit if they are quiet with a gain plugin. You will be able to find gain plugins in your DAW stock plugins or insert an external one.

2. Record more takes than you need
As you are going through the method of recording you are not going to have time to investigate each take.
The very best method to handling this example is to avoid wasting all the previous takes when the pressure is on, save the “that is the one!” take, after which record a couple of extra run-throughs as soon as the pressure is off because the vocalist looks like they have a good enough efficiency already within the bag.
You can play with the human voice like it is an instrument. So use that to your benefit to produce high-end vocals at the end. Compiling vocals is a known tactic to get the best out of every take and why not do it.
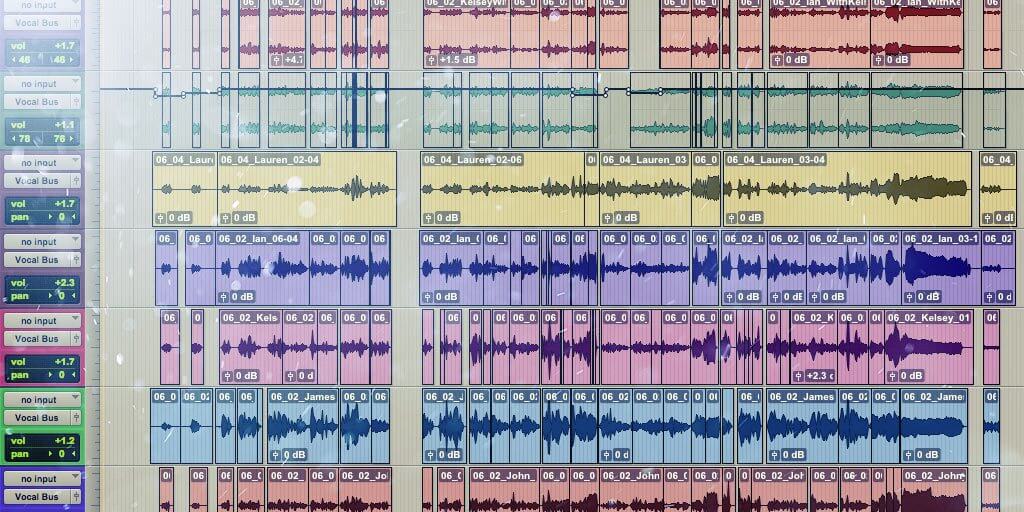
3. Record harmonies and adlibs
Even in case you assume you will not use them, record harmonies and accent phrases. You wish to create choices for the mixed vocal track process. The performer would possibly inform you they need an actual intimate performance with no doubles or harmony lines.
Inform them “okay, agreed, however, let’s play it safe and file them in any case.” You by no means know when the track would possibly get rearranged and have a huge build-up on the end where these come in useful, and different similar situations.
You can use these harmonies or adlibs with volume automation to bring them up at some points to make your vocals sound fuller. This sounds similar to effects like doubling.
4. Listen In Context
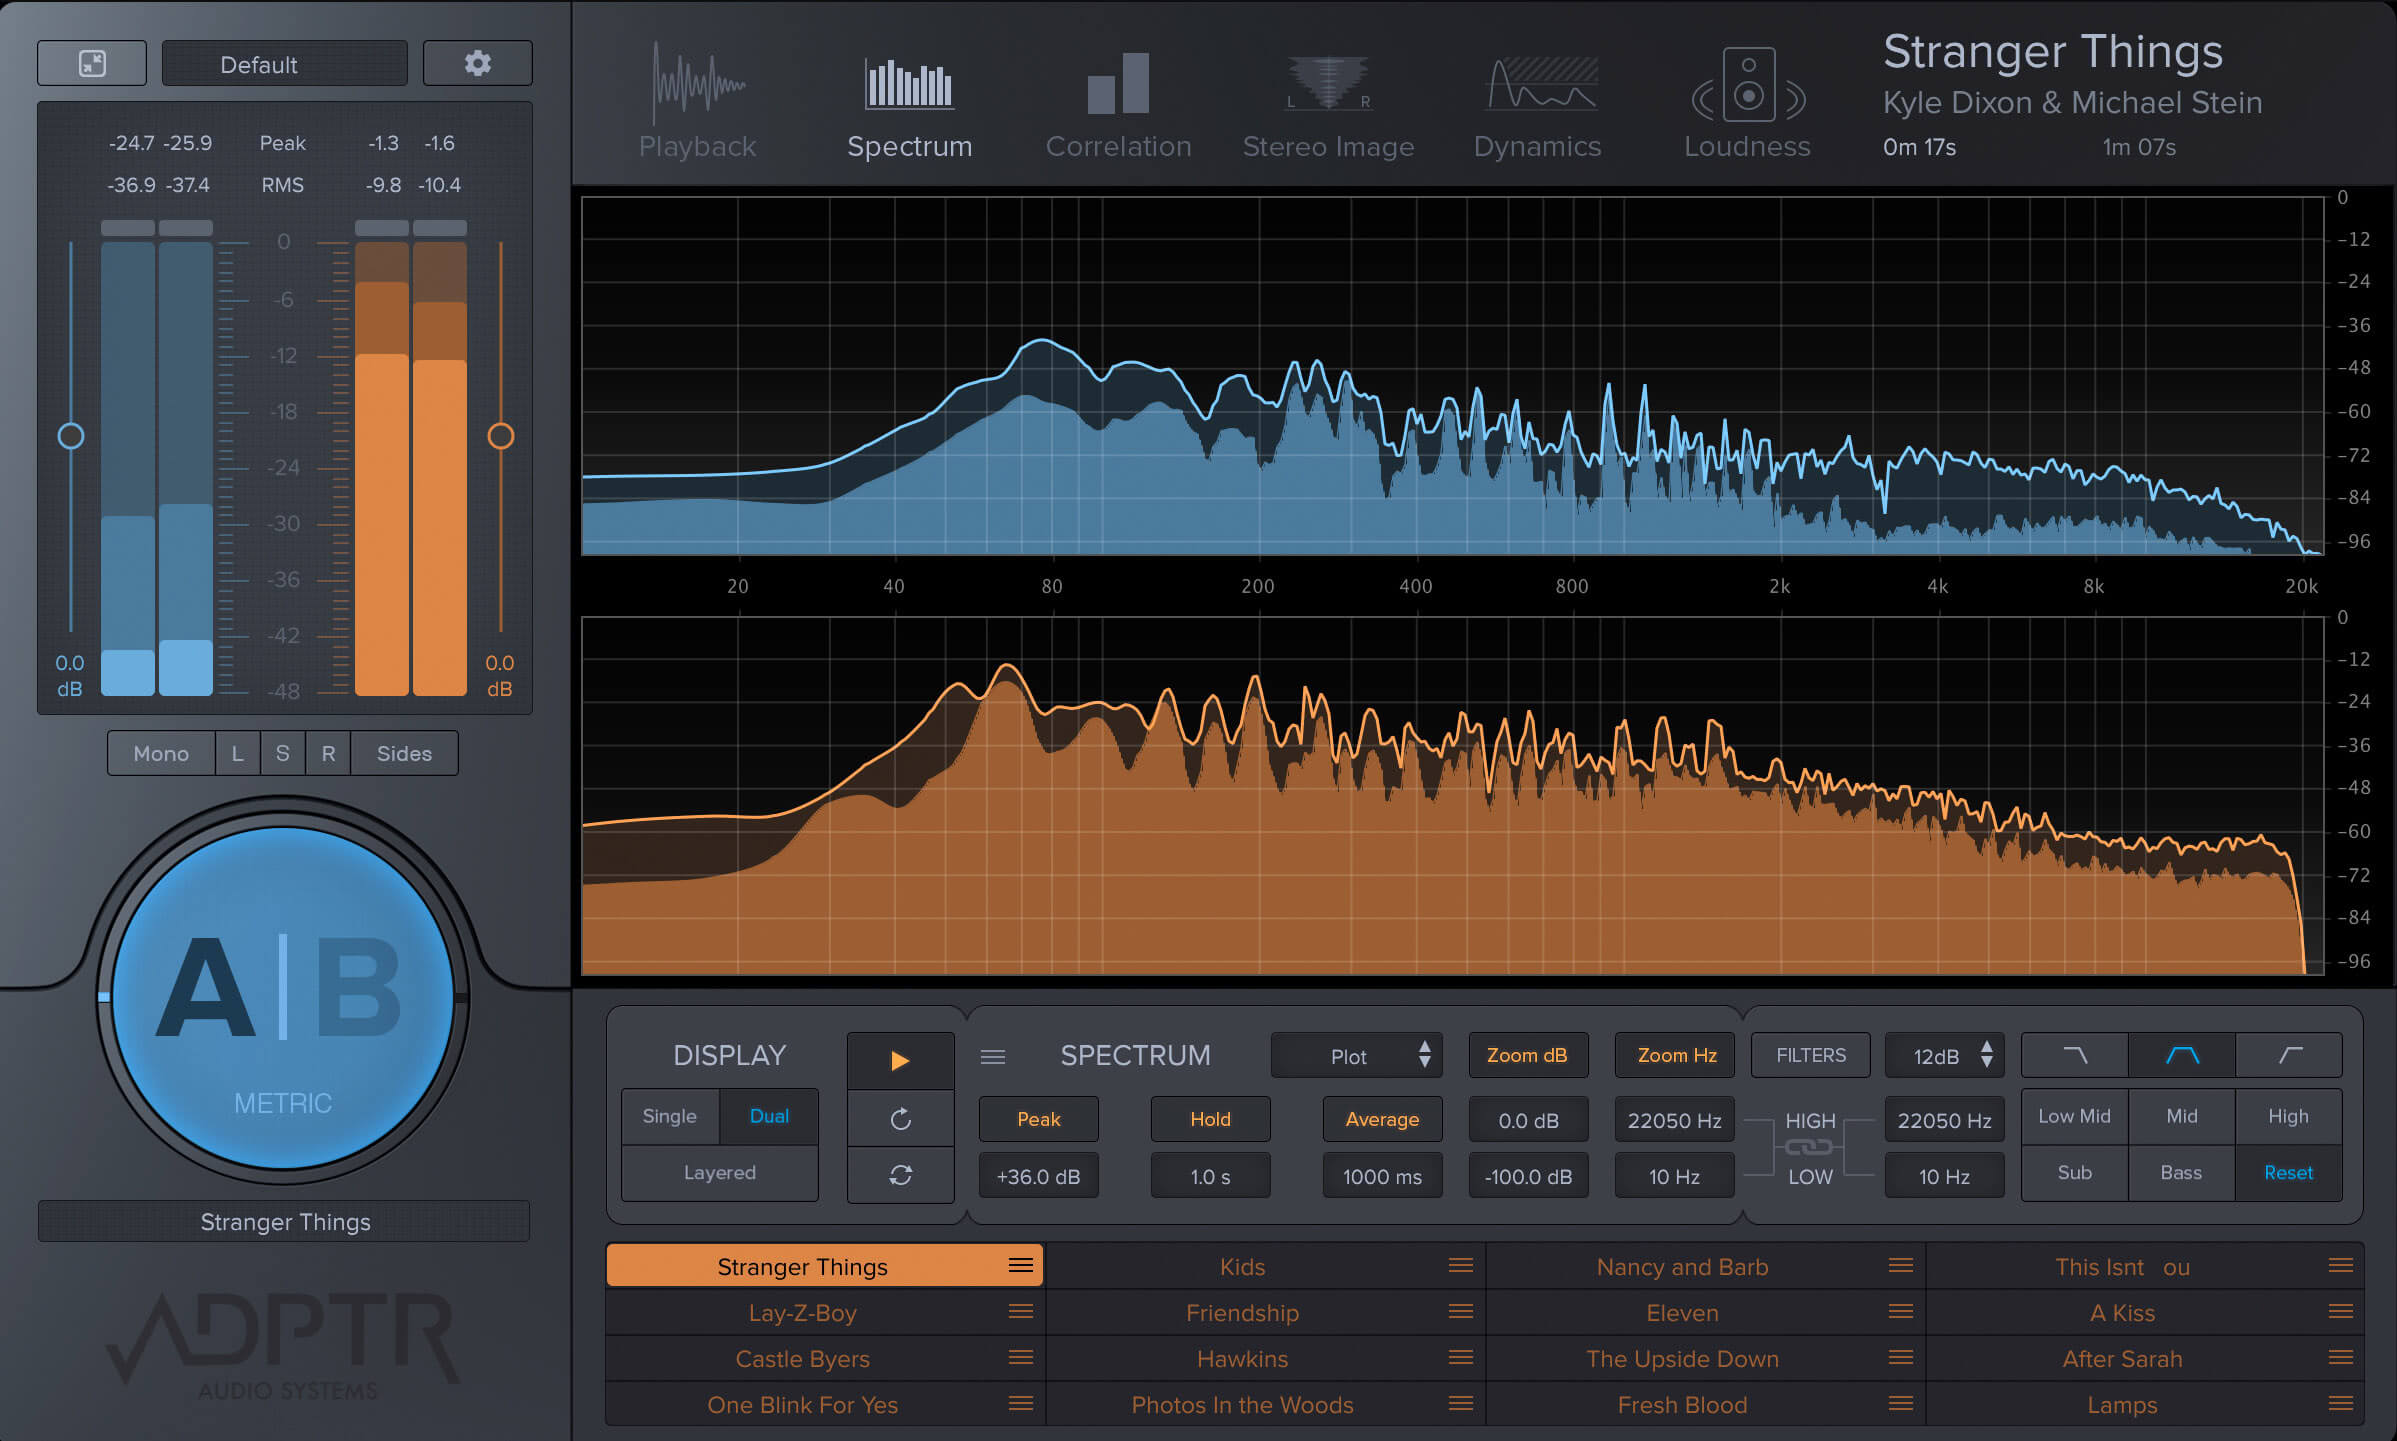
Before stepping into the nitty-gritty particulars of vocal tips, it’s essential to consider the context of the track in the tune. That’s to say, one thing that sounds good on a vocal track when soloed, might make your vocals sound worse when mixed with different instruments.
When you listen to them in a context, you will be able to analyze the frequency range and see how they fit in the whole spectrum as a part of the song. This is very important when you are mixing vocals because, besides you, no one else will listen to them in solo.
5. Mix Everything Else Around The Vocals
The alternative to the above point is that making modifications to the opposite mix elements may even have an effect on the vocals. An enormous downside many newbie engineers forget is that the lead vocals are crucial aspects of a mix.
Due to this, they might not bring them in till the end of the process.
Try to mix vocals first and have them as a guide on how to mix everything else. Even your music production will improve if you mix them first and then head on to another element of the song.
6. Roll-off bass frequencies
The one factor you might be certain of for many mixes, except it’s a vocal/piano or vocal/guitar duet, is that you will be rolling off the low-end frequencies.
Use a high pass filter to get rid of these frequencies that will only muddy up your signal. Sometimes it might not be necessary to do this, but most of the times you need to.
Your vocals are probably not noticeably reaching down into the bass and sub-bass areas of the frequency spectrum, however, there may be some quantity down there in your entire vocal takes and your entire instrument tracks. And all of it adds up to create mud.
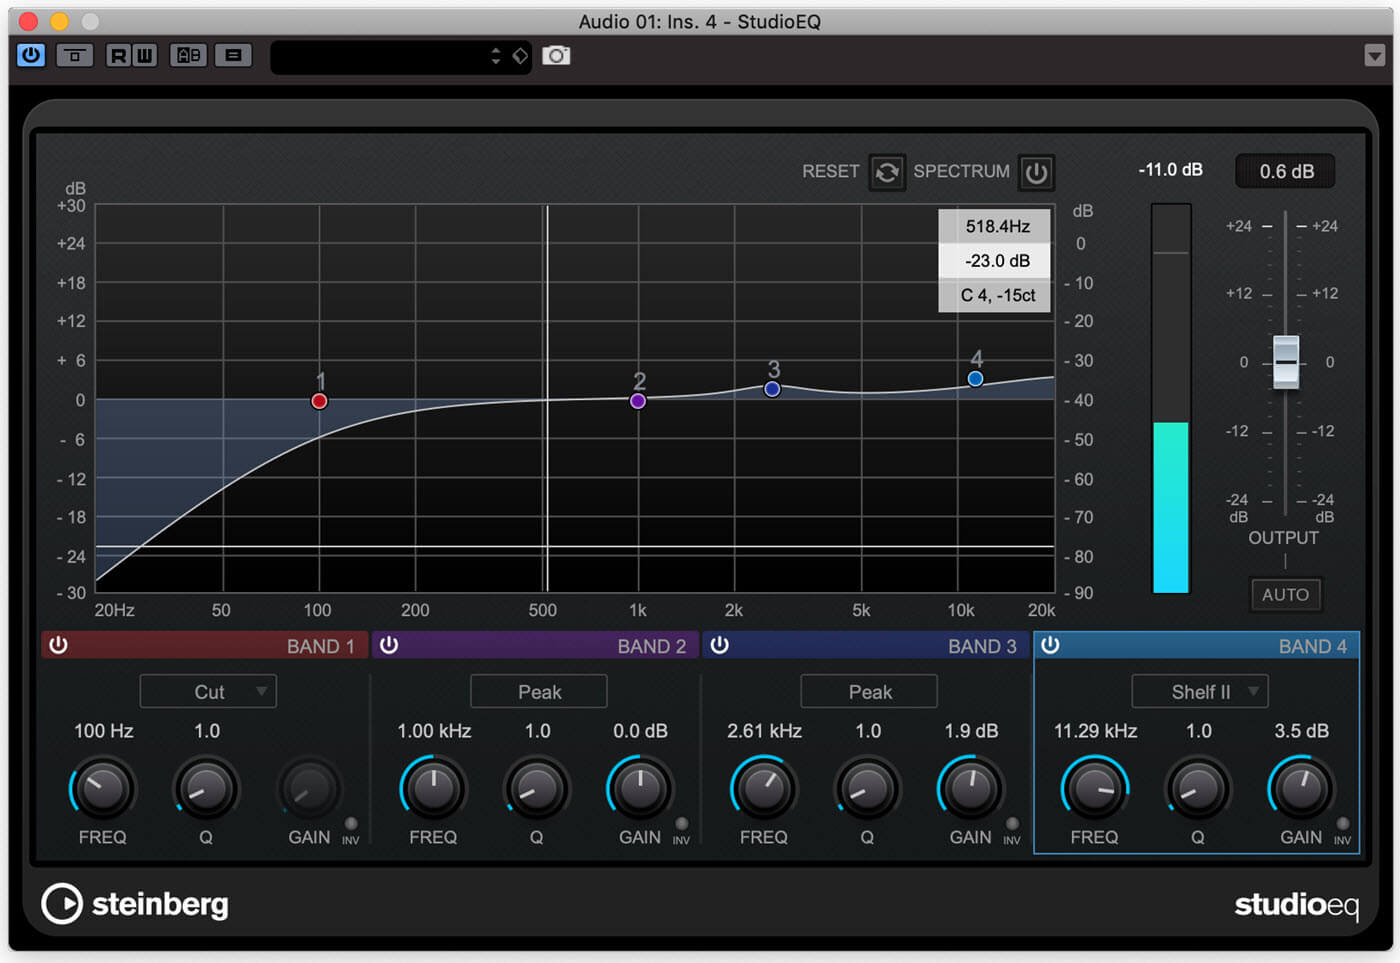
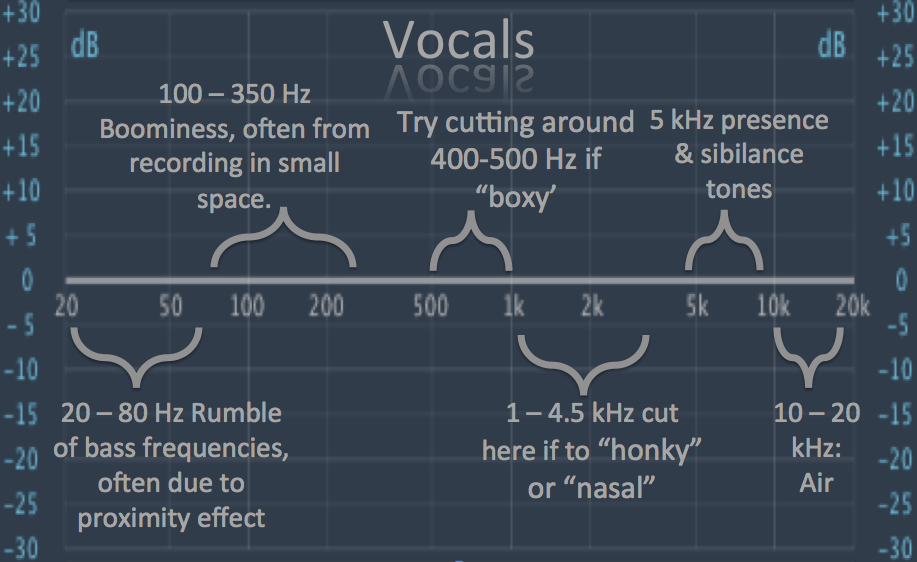
7. Reduce problematic areas
This is a general guideline you possibly can follow to seek out these problematic areas:
- 100 Hz – 300 Hz: Too Little Loses Body, Too Much Here Removes Clarity
- 200 Hz – 500 Hz: Simply Right Feels Warm, Too Much Sounds Boxy
- 250 Hz – 750 Hz: Too Much Sounds Muddy
- 600 Hz – 1.1 kHz: Too Much Can Sound Honky & Nasally
- 1 kHz – 3 kHz: Intelligibility Hides Right here (The Sense of Understanding What’s Being Said)
- 3 kHz – 6 kHz: Presence
- 5 kHz – 8 kHz: Sibilance
- 9 kHz – 15 kHz: Sparkle / Crystalline
- 10 kHz – 20 kHz: Air / Breathiness
8. Improve Vocal Frequencies
After eradicating any downside frequencies in a mix, you possibly can enhance different elements to reinforce the sound of the vocals. Accomplish that gently at first, using large bandwidth and a low amount of gain.
In case you are searching for a thicker, fuller vocal sound, attempt boosting within the low-end round 100Hz – 250Hz. Things can shortly muddy up this space so use caution when doing so.
What we can say for sure is that the vocals tend to have the low problematic frequencies out of the system and also boost the upper region. Use a high-shelf filter to boost the upper area if your vocals lack some air in them.
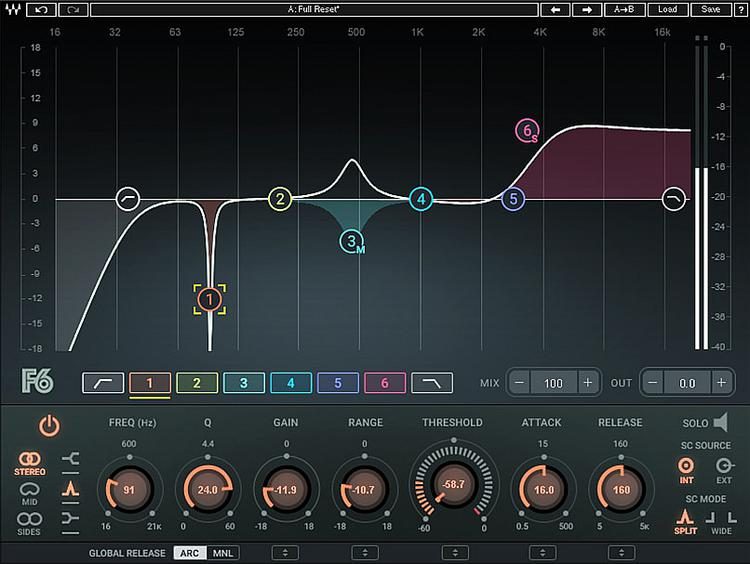
9. Use a Dynamic Equalizer To Control Presence
A harsher presence within the lead vocals lies within the 2.5kHz – 4.5kHz range. That is integral to helping a lead vocal cut through a mix. Nonetheless, an excessive amount of it could actually make the vocal sound harsh and unpleasing.
A problem that always happens when mixing is an increase in this content material when the lead vocalist switches registers. Increases in dynamics can even trigger this concern, making it tough to set an applicable EQ curve for this area.
Another thing that you can do with a dynamic EQ is to play with the gain reduction of certain bands. The gain reduction, in this case, will happen only when too much information is happening in that area your band is activated in.
Also, some gain automation or volume automation can even out the performance of the vocals besides the classical compression. Give that a thought as well.
10. Parallel Compression (Use Even More Compressors)
Typically over compressing a vocal can have a satisfying quality to it. That is very true with compressor plugins that model analog outboard gear.
Nonetheless, it’s very simple to go overboard with these strategies in a means that deters the standard of the lead vocal. The answer to that is to make use of a technique generally known as parallel compression.
That is the place you send the lead vocals to a secondary aux track which is then overly compressed.
With this process, you will be able to make your vocals cut through the mix, and with the proper setting of the attack and release, you will breathe in more interesting stuff to them.
It will be good to set the threshold high to get around 8 to 10dB of gain reduction, with a fast attack time and medium release time. This will squish the dynamic range, but when mixed in with the original vocal track, you will get both the transients and the sustain of the over-compressed signal.
When we stated more compressors in the header of this part, we meant serial compression. This is a process where you use multiple compressors (two compressors or more) in a row to achieve something else.
The first compressor and the second compressor should be from different developers to get different coloring if they offer any. We have a full article on serial compression.
11. De Ess Your Vocals
The problem with compression is that it could actually make quieter sibilance more current within the mix. To counteract these points use a de-esser on the finish of your vocal chain to attenuate undesirable sibilance.
De essing is a step that you need to go over if you are having these harsh sibilances, so do not sleep on it. Using it right, will fix the hard Ss, but by using it too much, your vocalist will sound like he/she has a lisp, so take care.
Utilizing a de-esser is integral to controlling sibilance in a vocal sound mix.
Correct de-essed vocals go past simply placing a de-esser plugin in your channel strip and selecting a preset.
12. Fix Vocal Timing and Tuning
Vocal recordings can have timing and pitch imperfections. If there are noticeable tuning points, pitch appropriate any questionable notes with plugins like Celemony Melodyne or Waves Tune Real-Time.
After making use of pitch correction, bounce the audio to avoid wasting processing power throughout mixing.
You can too undergo and repair any timing issues. DAWs like Ableton Live and Logic Pro have time-stretching options that make it simple to correct timing points.
Bear in mind to use timing and pitch correction within the context of the track, rather than with the vocal isolated!

13. Adding Reverb To Lead Vocals
Reverb is the primary line of defense in relation to creating space in a vocal mix. By no means insert a reverb plugin immediately onto the track. As a substitute, use an aux send to process the reverb on a separate track.
The pre-delay is likely one of the most ignored settings in relation to vocal reverb. Using an extended pre-delay will separate the reverb from the vocal. This pushes the reverb back in the mix and brings the vocal ahead.
That is preferred for lead vocals so at all times use a pre-delay of at least 50ms when mixing them.
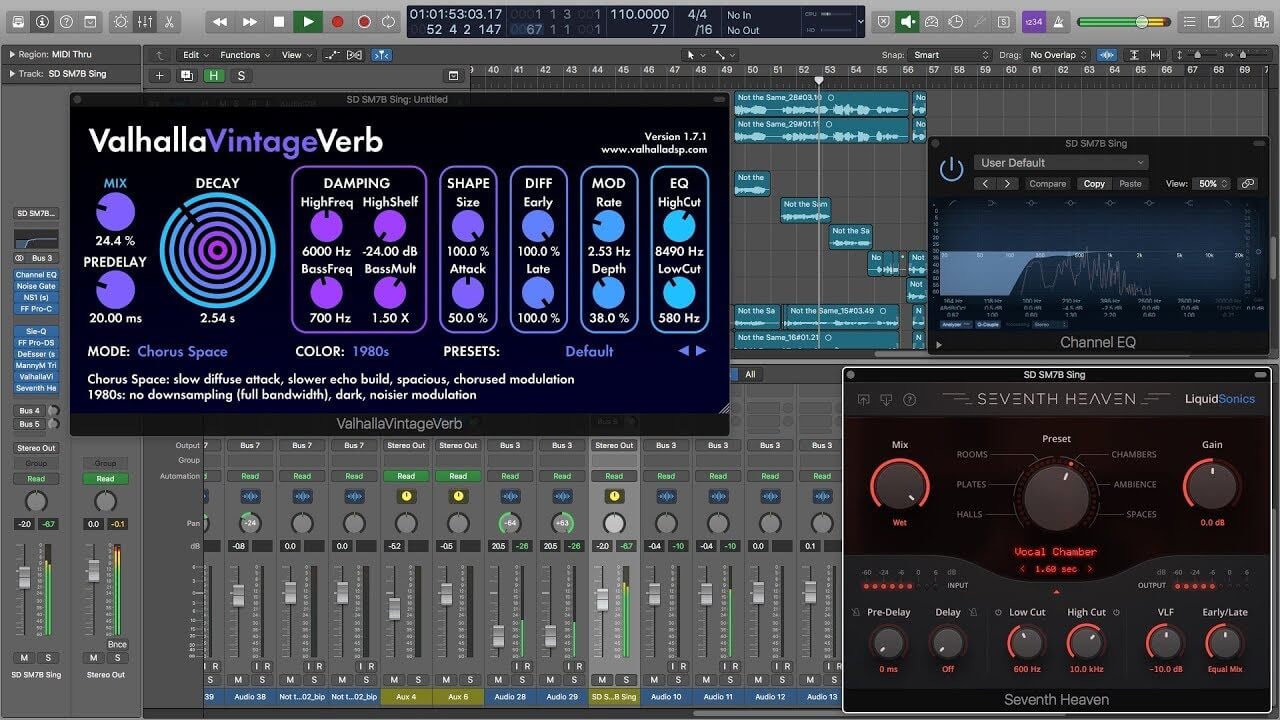
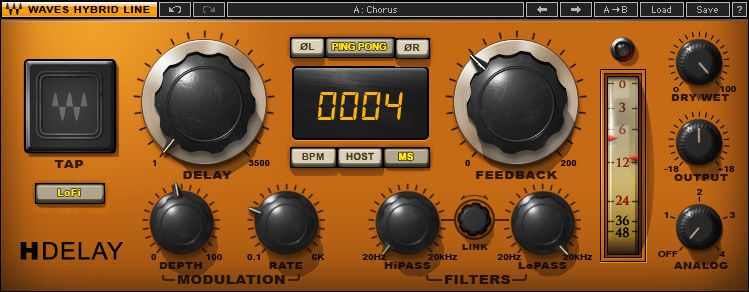
14. Using Vocal Delay
Delay on vocals can actually add a professional edge to your lead vocals, with many possibilities. It may be, however, to know where to begin when using these plugins. To make things simple.
The latter is achieved from a mono delay, with a quick delay time and a low amount of feedback. It’s nice for thickening a lead vocal and including a sense of depth to it.
Both reverb and delay are good for music production because they are giving some sense of space to the selected track. There is no vocal track that goes with at least one of these plugins.
Okay, maybe there are some hip-hop songs without any, but we are sure that the engineers went for that feel.
15. Vocal Saturation
Making use of small quantities of saturation or distortion can fatten up a vocal and assist it to cut through a busy mix. Saturation provides harmonics, presence, character, warmth, excitement, and cohesion.
Additionally, saturation will make it simpler to listen to your vocals on small audio systems like laptops, earbuds, and telephones.
When you’re going for an aggressive vocal sound, attempt sending the vocal to an aux channel or use parallel processing to use heavier amounts of saturation. Then mix within the processed channel to taste.
Parallel processing is a wonderful approach that can give your vocals energy and punch without affecting the original sound supply. Bear in mind, a bit of is going to a great distance!
16. Automate Your Lead Vocal Fader
After the whole lot is done, go through your track and even out the levels of the lead vocal with fader automation.
This implies far more than simply leveling out the quieter verses with the louder choruses. You’ll be able to actually take your vocals to the next level by automating individual phrases louder or softer.
One other approach is to push the level on the tail end of a phrase where the singer is operating out of dynamic power.
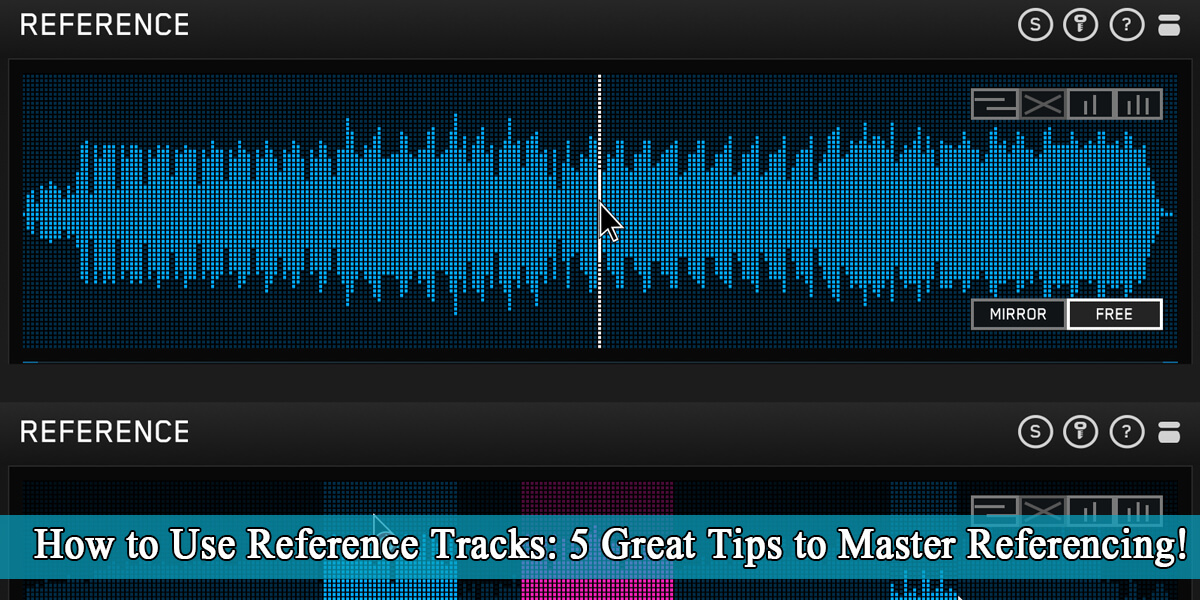
17. Compare your vocals to a reference track
Reference tracks are professionally mixed and mastered songs you utilize as a tool to measure your mix against.
Referencing is likely one of the greatest and most useful mixing strategies to learn. Evaluating your mix to a commercially prepared track will assist you to achieve pro-sounding mixdowns and masters.
Reference tracks additionally guide your mix selections. Shortly change between your mix and a reference mix to help you determine what your vocals are missing. This system is a simple technique to reveal problems it’s possible you’ll not have noticed.
Conclusion
These suggestive strategies provide a place to begin for mixing your vocals. They’re a piece of normal information that can assist you to make extra informed mixing choices. It’s inspired to experiment.
Attempt altering the order of the plugins and play with totally different settings. To mix vocals is great fun. You can alter problematic frequencies, dynamic range, use serial compression, gain automation, low and high pass filter, and whatnot. Overall, you will improve your song and your music production will be on another level.
Besides the fun, take this step seriously because you do not want to lack quality on your vocal. They are one of the most important elements in your mix, so take care of that.
Finally, bear in mind not to go overboard. Studying to mix vocals with the least moves and plugins will provide you with more pure outcomes. Good luck!