How To Clean a DJ Mixer
Introduction
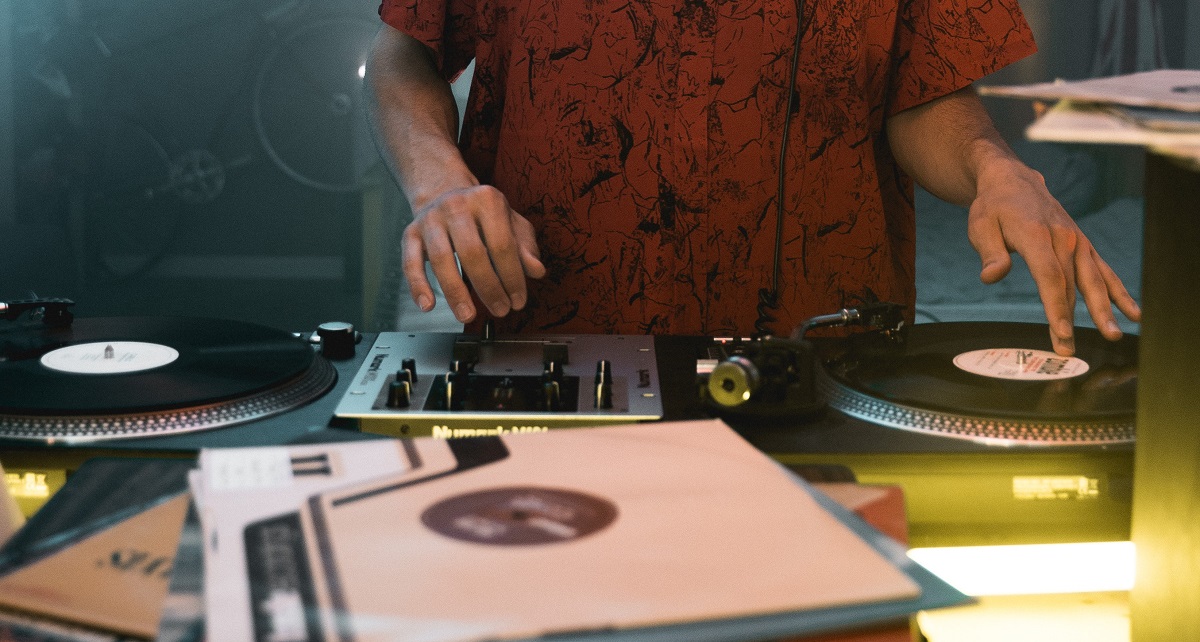
The unfortunate event of getting your DJ gear dirty while performing is sometimes inevitable. And what can we do about that at the moment? Well, we can just try to clean it up as soon as possible as fast as we can in order to proceed with our set.
Besides being an audio engineer and mixer, I am also a DJ for around 10-11 years now and I have faced gazillion situations where the DJ gear was failing because of dirt. No matter if it is a DJ controller, turntable, or DJ mixer, all of this equipment can be susceptible to dirt which will result in these headaches.
Well, in this article we are going to go over some basics in terms of cleaning the DJ mixer and getting it ready for the next gig without ruining the set and getting us through. To be honest, this article might be good when cleaning all the gear, but we are going to focus on the DJ mixer only for now and leave that for some other post. Let’s start.
1. Get The Big Chunks Out
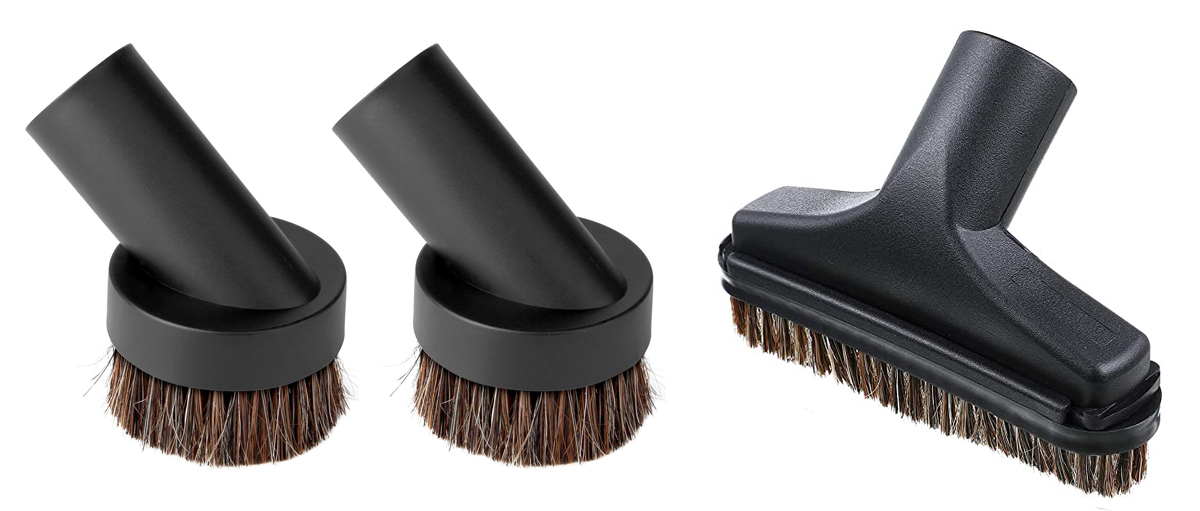
The DJ mixer unfortunately has a lot of openings on the top, where the particles can slide into and cause issues. So for this purpose, we prefer to start by carefully cleaning it with a brush and a vacuum cleaner. It is good that the vacuum cleaner I have has speeds and I usually set it on the slowest one to avoid vacuuming any wires or caps from it.
This will take care of any dust that is on the surfaces of the mixers and will get us a clean surface to proceed with more careful cleaning where we will use a cloth. If we didn’t take care of the big parts before using the cloth, we might end up pushing it further down the crevices and cause more harm than good. So brush and vacuum first for the rough cleaning part before moving on with more surgical cleaning.
2. Precise Cleaning
After we are done with the big part, we are ready to move on with the more gentle and precise cleaning with a cloth now. While the first part might solve some of the problems from stuck faders and knobs, this for sure will get rid of that for good until the next session. So what do we need to do now?
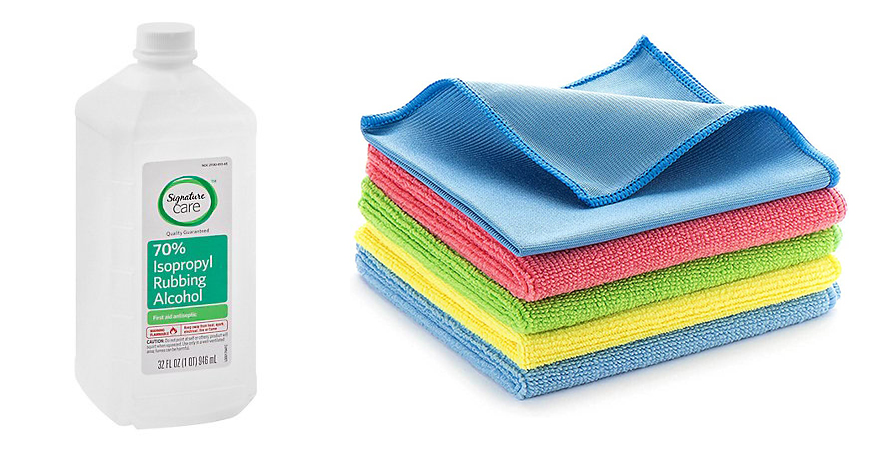
Now we need to take a cloth and go over the mixer. That can be an absorbent cloth, microfibre cloth, or any cloth that will not leave small cotton particles after cleaning. This might cause additional problems and mix up with the grease and the sticky residue, making the functionality of the faders and knobs even harder.
Our suggestion is to start with a damp absorbent cloth that will take care of any loose dirt and collect any liquids (if any) from the surface of the mixer. After that, continue with a slightly damp cloth to take rid of the sticky sweat and grease. Use some cleaning solution like Isopropyl alcohol to clean the remaining dust and grease marks.
After this process, continue with some soft cotton cloth and lightly wipe the excess dust and any wet areas if the damp cloth left on the top. Some paper towels might work here as well, but dry cloth also will do the work.
Also to mention, besides the top, you should also clean the back side of the DJ mixer where all the connections are located because the frequent finger traffic in that area might cause problems as well. Apply the same process here as well and clean around the connectors with care not to make them wet or loosen them up.
3. Internal Cleaning
There’s a good chance you need to clean the inside of the crossfader if you hear a crackling sound when you move from A to B channels. Taking out the crossfader from the mixer will allow you to check this. Simply undo the outside screws on the crossfader.
Simply unscrew the fader plate of the mixer to access the crossfader, which is attached to the crossfader itself. You can usually detach the fader by pulling apart the connector and the crossfader, which are connected by a wire inside the mixer. Make sure you remove the slider knob as well to gain access to the crossfader.
Currently, the crossfader doesn’t need to be cleaned or cleaned of dirt or dust. If you have a compressed air can, use it to blow dust out of the way. Those of you who have taken the extra step and purchased grease lubricant for the crossfader is to be commended. Lubricate the crossfader mechanism with a small amount of grease, and then move the crossfader to ensure that the grease has been blended.
After reattaching the crossfader wire to the mixer and installing the crossfader plate again, you are done. Once you’re satisfied that the crossfader is working correctly, you can assemble it back for good.
Here you need to be extra careful because you do not want to make permanent damage to your mixer and throw it away. Just do this with care, with the specific tools, and get rid of as much dust as possible.
4. Post-Gig Wipedown
We usually do all the previous points when we get home from the gig and we are ready to set the gear down till the next performance. But right after we are done with the gig, while still in the club, we can also clean the gear a little bit if we think that there is some stuff on certain surfaces.
Again, always carry a microfiber cloth for cleaning DJ gear purposes to wipe down any liquids or any loose dust. A soft cloth will not take up any space in your case or bag but might save you some problems that might occur if we do not clean the stuff right at that time.
When you get home, perform all the points above with all the cleaning tools you have at your disposal, but do not wait till getting home to save yourself some time, money, and stress from a faulty mixer.
Big Guide to Basic DJ Mixer Inputs and Outputs! (2023)
What Are Rotary DJ Mixers: Breaking Down the Basics! (2023)
Big Guide on How To Connect External Effects to DJ Mixer! (2023)
How To Choose a DJ Mixer: Great 9 Factors to Consider!
Setting Volume Levels on DJ Mixer: Great Guide! (2023)
Reasons Why To Clean Your DJ Equipment
It is important to clean your controller, mixer, and laptop regularly. Gunk and muck inside your gear will most likely accumulate along the heat exhaust areas, effectively clogging them. Blocking and jamming your heat exhaust areas will reduce the amount of hot air that is able to escape. In essence, this means that your device’s electronics are increasingly prone to overheating, resulting in a decrease in its performance.
When you clean your DJ gear regularly, you will notice an immediate difference in its appearance. It is especially important to make appearances if you have several gigs lined up already or are already performing regularly. DJs who have made it their mission to turn to perform into a profession are especially susceptible to this.
There is nothing wrong with having a crude-looking set of DJ equipment if this is merely a hobby. Ultimately, the crowd will respect and have faith in a DJ whose equipment looks good. If you do not achieve these goals, your overall performance ability will be questioned and uncertain.
And the most important reason of them all; preserve your DJ gear clean to extend its life to the maximum. Again, no matter if you are cleaning your mixers, DJ controllers, or turntables, you need to keep them clean for this reason only. Everything else is a great bonus to the clean gear.
Home Preserving
It is also important to keep your gear clean even when it is not in function. The place where you keep your gear needs to be dry and not expose your gear to external influences.
If you keep your gear in the cases and do not take it out when you are home after the gig, there are no huge chances that the equipment will be harmed. Our suggestion here is to at least clean it and stash it in the cases and just make sure that the cases are clean inside and there is no harm if you keep them inside.
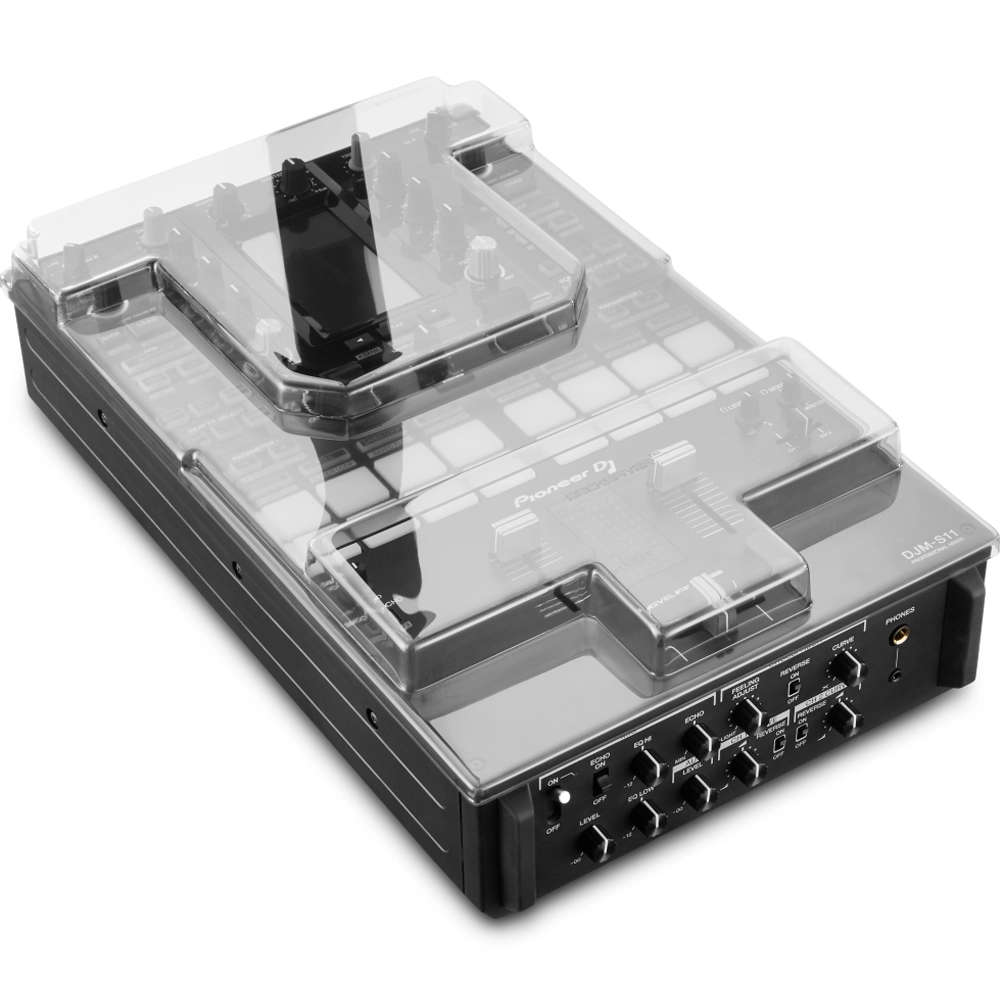
In case you take out your gear when you are home, try to not leave it open and placed it only on the desks. If you do not have any hardcovers for it, just place any cloth on top of it that will cover it completely and avoid any dust to settle on it. The ultimate solution here is to have deck savers that are specifically made for that unit, which will ensure it for all kinds of outside dust and liquids.
Frequently Asked Questions
How often should I clean my DJ mixer to ensure optimal performance and longevity?
It’s recommended to clean your DJ mixer regularly, ideally after every gig or performance. However, the frequency may vary depending on factors such as the environment you perform in (e.g., dusty clubs versus clean studios) and how frequently you use your equipment. Regular cleaning helps maintain optimal performance and extends the lifespan of your mixer by preventing dust buildup and potential damage from dirt and grime.
Are there any specific cleaning products or solutions recommended for cleaning DJ mixers, or can I use common household items?
While some DJs may prefer specialized cleaning products designed specifically for audio equipment, many common household items can be used effectively for cleaning DJ mixers. Microfiber cloths, isopropyl alcohol, and soft brushes are commonly recommended for gentle and thorough cleaning. It’s important to avoid harsh chemicals or abrasive materials that could damage the surfaces or internal components of the mixer.
What should I do if I accidentally spill liquids on my DJ mixer during a performance, and how can I prevent damage in such situations?
If you accidentally spill liquids on your DJ mixer during a performance, it’s crucial to act quickly to prevent damage. Immediately power off the mixer and unplug it from any electrical sources to avoid short circuits. Carefully blot up excess liquid with a clean, dry cloth, taking care not to spread it further into the mixer’s components. If possible, disassemble the mixer according to manufacturer instructions to access and dry any internal components affected by the spill. To prevent such incidents in the future, consider using protective covers or cases for your equipment, and avoid placing drinks or liquids near the mixer while performing. Additionally, maintaining a clean and clutter-free performance area can reduce the risk of accidental spills.
Conclusion
Every DJ, audio, and sound engineer, mixer, and recordist should take care of their equipment. With regular maintenance and regular cleaning, you will go the extra mile in keeping your gear for a longer time.
DJ mixers are the same. Probably these units are getting touched the most while performing. Cleaning your DJ gear should be part of the job and everyone should take it seriously, so do not leave something for tomorrow that should be done today.
With this, we are concluding our topic on how to clean the DJ mixer and if in case you are having any questions about the whole process, please head over to the comment section below and we will be happy to help you out.