Setting Volume Levels on DJ Mixer
Introduction
Having complete control over the overall volume used in your mix is important for many various reasons. Similar to the gain staging process in the mixing of a song, the DJ mixes should also have gain stages on which you will base your whole mix and have a volume control on the overall volume of the sound system.
In this article we are going to focus on this process because most of the time it goes overlooked and many beginner DJs are blasting the volume more than needed, ending up with unwanted distortion and unclear mix on the master output.
Sound Quality and Gain Staging
Each gain stage has maximum values, allowing you to reduce clipping as much as possible. A headroom issue is evident when there is insufficient space for the transient and it starts clipping. The distortion caused by clipping can adversely affect the sound of your music and your speakers.
If your audio clip at any stage, even for the shortest amount of time, it will result in a loud click from the distortion and is displeasing to the ear. This is probably the biggest reason to trim audio tracks properly and have complete control over their volume. The initial gain staging is important for both seamless mixing between tracks and maintaining a clipless mix.
Gain Structure: How To Set It Up
It is important to measure the sound input to ensure that your music is not clipped. By setting up a gain structure, you are able to create a level that is correctly set up. In this way, you will avoid the experience of clipping and still have enough space for mixing. Setting your growth structure begins with this step.
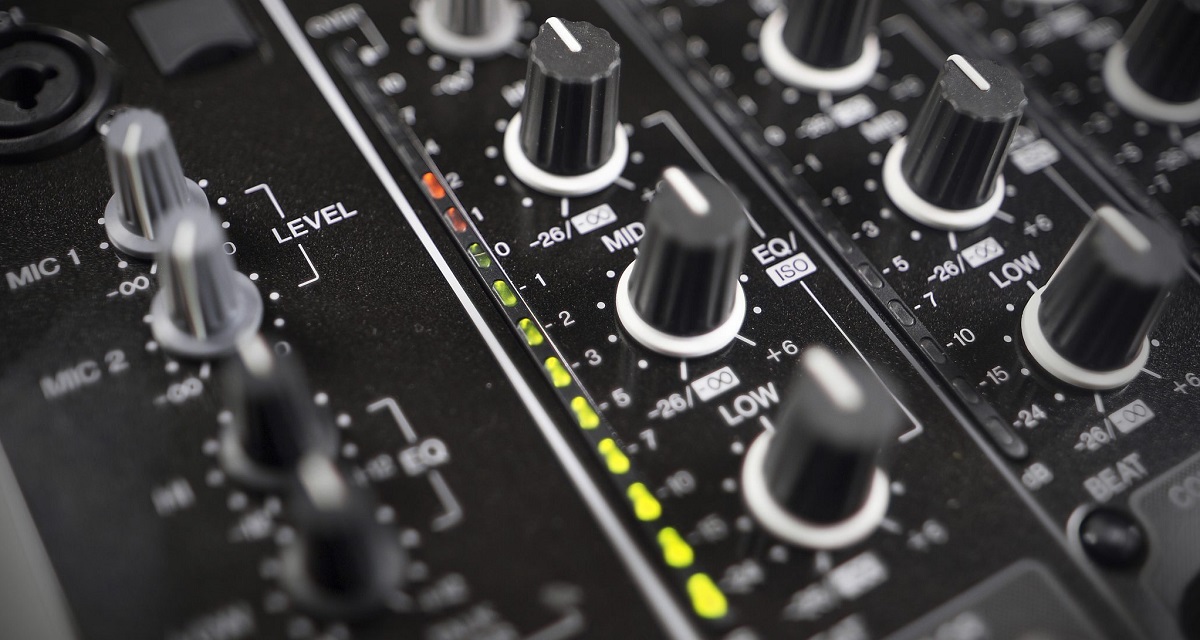
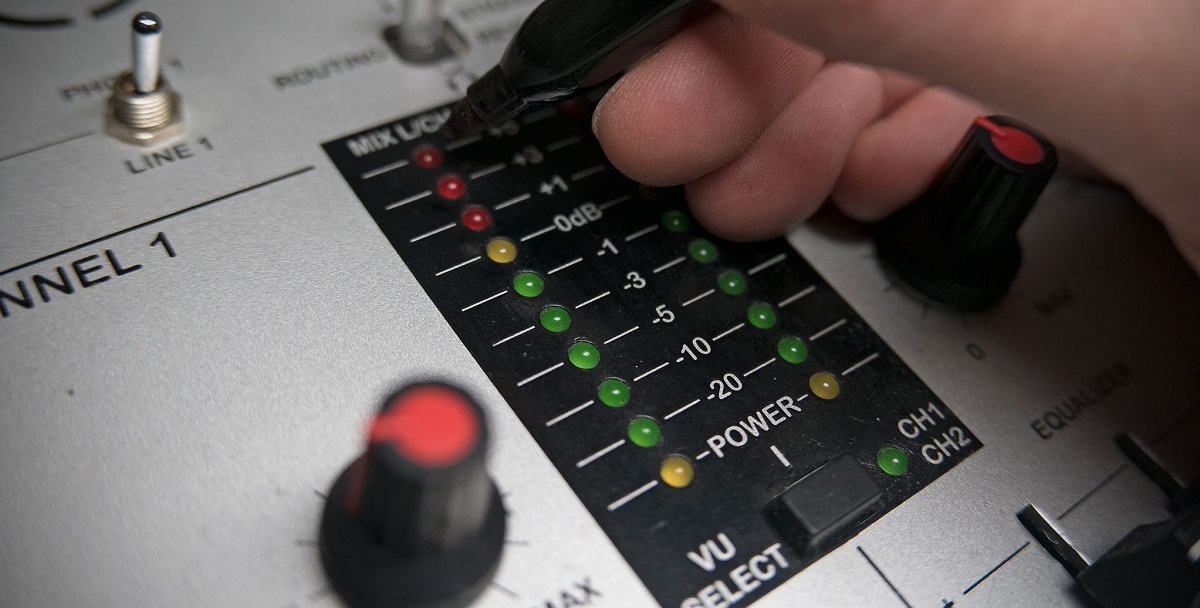
As part of the process of establishing a gain structure, the level meter must be monitored at the highest level possible. A DJ mixer usually has this feature. During this process, the greens change to oranges and reds. The ground level is generally represented by the peaks in green sections.
Besides the peaks in the greens, you might be able to extend that a little bit more and find yourself in the middle of the orange LEDs. Here you will find the sweet spot to mixing tracks that might not have been normalized before and you will have the headroom to boost or cut them to fit your gain setup.
The Normalization of Audio Tracks
During your DJ days, you may also come across other songs that were recorded at a lower level. Several DJ software packages include a feature called Auto Gain. It may not be as accurate as you would like but sometimes are helpful.
By leaving some headspace, you can adjust the volume so that the transition between songs is seamless and seamless. Also, before entering your DJ software, you will be able to analyze each track and get it to the maximum level before it clips and have the levels hit the appropriate amount of volume to have them at an even level.
Besides the clipping, another distasteful event is when the song you want to mix is below the normalized level of the rest of the tracks. Your mix will then sound weaker and as if you didn’t mix the tracks properly.
Both normalization and gain structure will help you keep your mix at the optimum level and the digital mixer is there to help you with features to even everything that comes out of it.
How To Use DJ Mixer: Learn Big DJ Mixing Skills Now! (2023)
Big Guide to Basic DJ Mixer Inputs and Outputs! (2023)
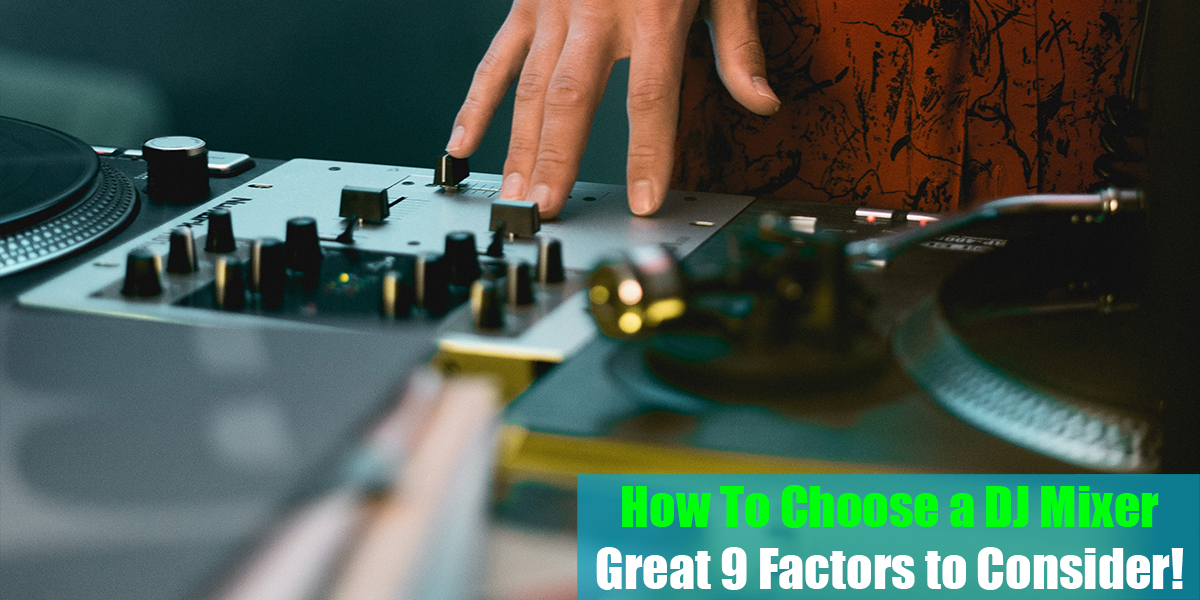
How To Choose a DJ Mixer: Great 9 Factors to Consider!
What Are Rotary DJ Mixers: Breaking Down the Basics! (2023)
Big Guide on How To Connect External Effects to DJ Mixer! (2023)
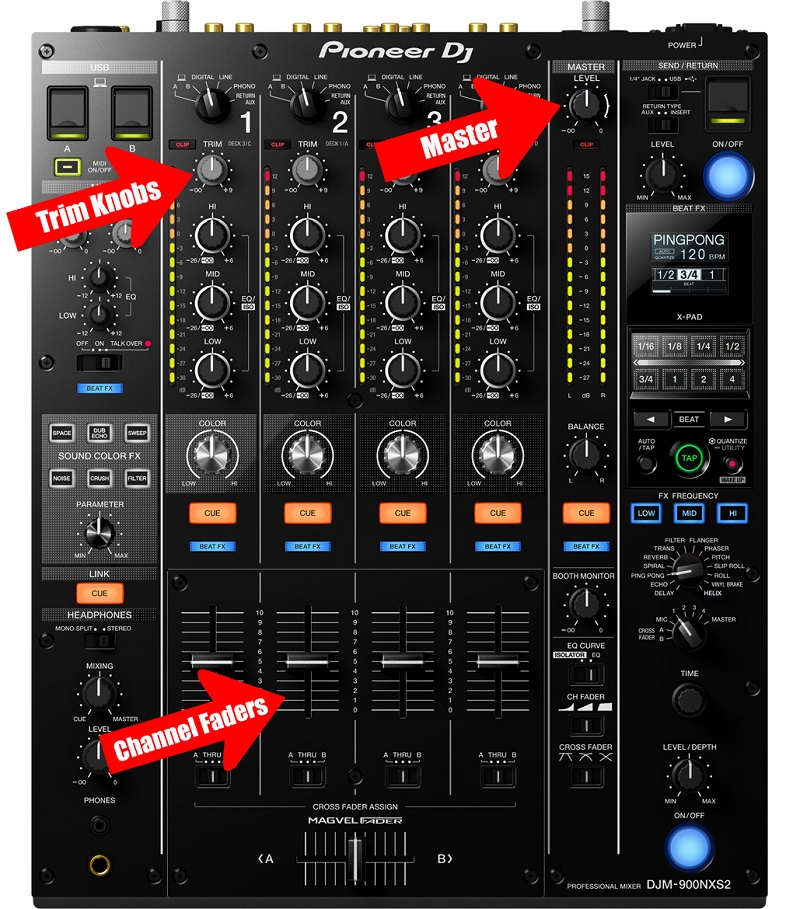
Knobs that Help with Volume Control
Thankfully, there are also controls at several points on the DJ mixers that will help you set proper levels and eliminate any difference between tracks and amplify your skills as a DJ.
Let’s start from the beginning phase. Once the track hits your mixer, we primarily use the Trim Knob to trim it to the stage we previously set and make it even for mixing in terms of volume. Here we control the input gain structure because this is the point on the DJ gear that is dedicated to that function. What is next?
The Channel Fader is usually used for mixing and performance purposes, but if you have a sudden need or performance trick in terms of volume, you will be able to use it as it is the easiest one to access and use and it serves as a volume fader at this point. You can easily play with the two tracks you have using only the channel faders on your DJ setup.
At all times we keep the channel faders at maximum, but they also serve as the second and next in importance level knob/slider that can adjust the sound level. In these key moments, we can turn to those channel faders and make minor adjustments to the signal.
The final and in some ways, the most important knob to have control of is the master volume control. The master volume helps us control the summarized signal from the two or four channels at the same time and trim the audio not to be too loud or quiet. After this one, there is another point, the amplifier gain, but we leave that for the sound mixer of the party.
So the gain controls on the DJ equipment help us shape and play a great mix and to give us ease of controlling the power of the tracks and will allow our playing to be perfect in terms of volume. The gain knob – who would have thought, right? But yea, it is this important!
Conclusion
As the night progresses, you will need to adjust the master volume accordingly! In a room that fills up with people, the bodies of the people absorb a lot of sound as they move around. It is important to keep some headroom in your master so that you can make adjustments when and if necessary.
In the ideal situation, this would be the ideal way to do a sound check and find the limits of a DJ sound system, but in the real world, there may be venues that do not want you blasting out your sound during the sound check, so maybe for the last stage, the limit of the speaker might not be as important as you may think.
In any case, it is important to practice having a good understanding of how much sound is available to you so that you do not end up cranking up the wrong gain late at night and causing everything to sound distorted.
This is similar to driving a car with a full tank of gas; it’s important to know how far you can go and when you’ll need to refuel so that you don’t run out unexpectedly. If you have any questions in regards to this topic, please let us know in the comments below and we will be able to look into it together. Until then, blast off!