How To Mix a Two Track Beat and Vocals
Introduction
When it comes to mixing vocals in 2 track instrumental, the approach is more limited than usual when we work with complete stems of the song. And even today, when everything is digital and we should have the stems backed up, sometimes a beat can get lost in our files and we will need to record over the exported track.
At first, this might appear like a problem, but if that is the only way out – you will need to work with it and make it sound the best you could. This would possibly sound like a singular situation, nevertheless, it’s pretty frequent, particularly for hip-hop producers.
Those that create music by producing beats or people who require new vocal features or remixes will usually discover themselves mixing vocals over a fully-realized track. Even in case you don’t foresee yourself doing this, it’s a helpful skill to have.
2. Prepare the Beat
3. “Mix” the Beat
4. Vocals
4.1 Compressing and EQing
4.2 Sidechain Compression
4.3 Additional Vocal Effects
5. Finalizing and Mastering
1. Adjust the Levels of the Beat
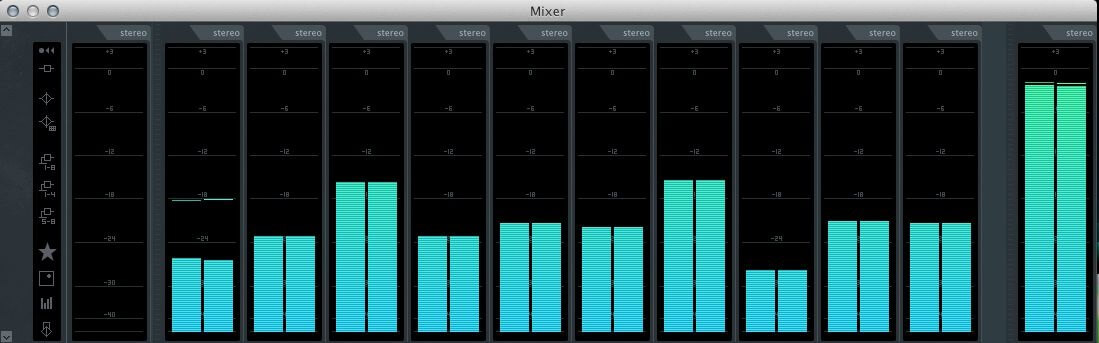
So before we get to mix the vocals and the track, it is vital to set your ranges to offer you room to work with. To make the vocal and instrumental match better, we’ll be remastering the track at the end, so for this, you will just drop the level of your mastered beat we have.
We normally drop the master stage so that it peaks at around -10 dB to -6 dB, to provide us with the headroom for the vocal to sit on top, in addition to the mastering later on. This should be the first step that we will need to take in order to set the stage for further on. Even after that, once the vocals are recorded over, you will have no struggle mixing them with the beat.
Naturally, this is not the process we are used to going through when mixing, but on this occasion, you will need to do this first. Unfortunately, both the upside and downside are that the beat is already mixed. If it mixed well, you are cutting one process down, but if it is not that well – you will need to work on it as well, but more on that later.
2. Prepare the Beat
When we now have created volume reserve, we’re prepared for setting about directly mixing. It’s nonetheless early to get to vocals as they won’t get seated in music in the proper way. Maximization has disadvantaged the beat of all-natural transients. They have been simply minimized with a limiter. That’s the reason it’s essential to “brighten up” the beat a bit.
There are two choices:
- Using a transient shaper (or an expander)
- To mix samples of the kick and the snare/clap (relying on what sounds in the unique track) to the instrumental
In the second case, certainly, mixing is now moving over to the production area. However, it happens that it’s the only resolution as there aren’t merely any transients in a flattened instrumental for regeneration. Do this in case the beat is squashed and you do not have any transients on it.
If the beat is only mixed and not mastered, and all the transients are preserved, there might be no need to do this. It is up to you to analyze it and decide what production steps you will need to take in order to make the beat more flexible when it comes to mixing it.
3. “Mix” the Beat
Even tho the beat is already mixed, you will be able to apply additional changes to suit the final outcome of the mix better. The beat being previously mixed is not posing any restrictions but is giving you additional motive to make it more unique and to your taste. There are several things you can do here, so let’s check some out.
The instrumental could also be very vivid or very dark. Chances are you’ll need to lean your vocal EQ to go with this. A vivid vocal on a dark track will sound a little bit unglued. This goes for the remainder of the frequency spectrum and general tonal qualities like distortion.
If the track has a distorted or saturated quality to it, chances are you’ll need to purposefully distort the vocals. Clearly don’t do it if it’s too detrimental, but it’s one thing to contemplate.
Lastly, match the area. If in case you have a mid-side processor, solo the side signal, or flip the middle signal way down. This may expose the standard of the reverbs used within the instrumental.
Discovering a similar reverb/delay, and EQ’ing the reverb to match the tonality of ambiance within the instrumental will assist bond the vocal and instrumental in probably the clearest means. This takes some time to get a feel for and is somewhat subject, however, it’s extremely efficient.
4. Vocals
So the basic preparations of the beat are now done and it is time to tackle the vocals. At this stage, we are going to suppose that the vocals are already recorded and we just need to mix them in. If you are at the point of recording vocals and you need some guidance, you can check our article on recording vocals here.
4.1 Compressing and EQing
So the next factor is to set your vocal stage based on the beat. We prefer to set the vocal to be barely under where we’d need it for the ultimate levels in order that after compression, EQ, and different processing, it should hit the dB stage we would like.
If at any level your vocal is getting too loud, lower it a little bit. It is a primary stage before using FX, so don’t fret too much about getting this precisely on point.
Simply ensure your vocal is low enough in order that it would not overload your compressor plugin. Before we begin fitting the vocal to the instrumental, we have to get our primary vocal mix out of the way to provide us with a greater understanding of where it is fitting within the mix.
To make your vocal pop, it is advisable to ensure your vocal ranges are uniform. Relying on the vocalist’s place, or the dynamics of the arrangement, your vocal can sound far and wide in terms of loudness. Some plugins can automate the gain in your vocal automatically, however, you may be doing this manually with gain automation.
Upon getting a roughly uniform loudness throughout your vocal, it is time to add some compression. When adding a vocal to a mastered instrumental, we normally prefer to compress the vocal a bit further than standard. Set the threshold so that you’re getting about 5dB to 7dB of gain reduction.
Set your ratio fairly high, in this case, we’ll go for a ratio worth between 4:1 and 8:1 to get an extra aggressive compression. Set a medium attack and a quick release to add an extra edge to the vocal sound. Compression and leveling will make it possible for your vocal stays constant over the length of the song.
In terms of EQing, begin with a high pass to cut out a number of the unneeded lows. We’ll additionally attenuate roughly 200-700Hz solely by a few dB since these frequencies typically cover up or mask the upper, extra clarifying frequencies. With that mentioned, we’ll amplify 2-5kHz to add extra vocal clarity, whereas dipping just a few sibilance frequencies.
4.2 Sidechain Compression
If you are struggling to fit the vocals in the already mastered instrumental, then subtle sidechaining is the process to go for. This process is much better than a simple cut down an area of the beat where the vocals reside, but will affect only when needed.
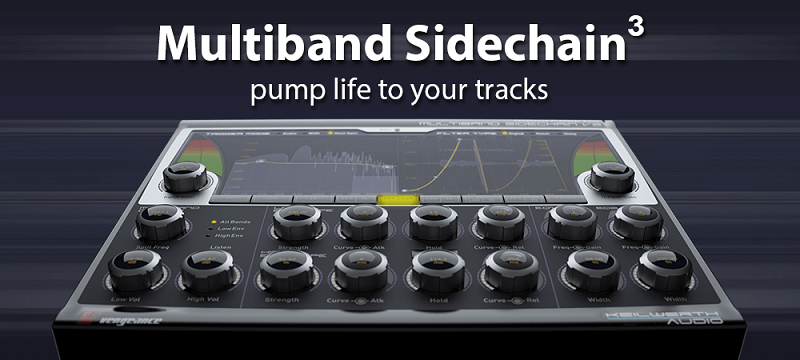
The even much better and more advanced process is the multiband sidechain compression. You can select a band where you will add the sidechain compression, mainly the area where the vocals have their core frequencies.
This truly is a make-or-break process, so be very careful about it, since you might create an unwanted pumping effect and destroy the cohesion of the whole song, but if done properly, will create one complete song and the vocals will sound properly balanced with the instrumental.
4.3 Additional Vocal Effects
This is a stage where you will need to match any timed effects the beat has with the dry vocals you have. Firstly you will need to analyze the beat and discover what kind of timed effects has on it. After that, try to recreate the same reverb on the vocals in order to glue them together.
We will not suggest any reverb or delay plugins here, since that will depend on what you will need to recreate.
After this stage, you can try to match the tonality of the beat to the vocals. As we previously mentioned above in the Mixing the beat stage, the same analytics apply here. If the beat is hard – harder vocals; if the beat is bright – brighter vocals, pretty simple, right?
5. Finalizing and Mastering
When you’re happy with how your vocal sits with the instrumental, you may need to master the track. That is where the headroom we left earlier will come and assist us out. We can’t run you through tips on how to master your music in this article because it is a very prolonged subject. We have some articles that you can check on mastering a hip-hop song here.
Mastering your track at this level will inevitably reduce the standard of your instrumental, purely simply due to added compression in addition to quantization distortion. This, sadly, is totally unavoidable whenever you’re mastering a beforehand mastered track.
That being stated, hold your mastering subtle, and try to not add an excessive amount of compression and saturation, otherwise, you’ll begin feeling these digital compression artifacts.
Conclusion
Ideally, working on a two-track beat and vocals might be faster, but it is a tiring process since it is not something that we are accustomed to. Also, trying to fit everything together to make one cohesive song is a delicate process that we need to pay close attention to.
Simply do everything we mentioned above and give it a rest. Come back and open the project after a while and try to listen with a “listener’s ear”. If everything sounds okay, bounce the project – if not, adjust it and bounce. Hopefully, our suggestions were helpful for all and you will create the song you are after!
In case you are having any questions in regards to the topic, feel free to let us know and we will be more than happy to provide any answers!