Mixing Hip Hop Vocals
Introduction
During the past several decades, hip-hop has undergone a variety of changes. The fact remains, however, that hip-hop has always been about the vocals, regardless of all the changes.
Even though sampling is crucial to the sound of hip-hop, as is the drum pattern, and, especially these days, the bass groove, vocals still remain the most effective means of conveying a message.
Hip-hop would not be hip-hop if it did not have a story to tell, a scathing earworm hook, or a catchphrase that accompanied every new trend. Therefore, it is imperative that the vocal mix sounds right in a hip-hop track. So in this article, we are going to talk about mixing a rap vocal that will suit the current standards of the industry.
Also, we are not going to talk about the recording process, cause we already covered the topic of recording vocals, which you will be able to find here. And now, let’s see what is really important to mix great hip-hop vocals.
Preparing the Vocals
One of the most common recording places for beginner hip-hop artists and engineers is in their bedrooms. And we are supposing that the bedroom is not professionally treated and with little to no acoustic treatment the vocals were recorded.
This is one reason that we need to pay close attention to when preparing the vocals for the core mix later on. With poorly recorded vocals, we are most probably facing sound leakages from other sources around the room that might come into the signal and probably the signal being recorded louder than it should be.
So here the best thing to do is to isolate the areas in the recording that you will not need at all and try to soften the vocals with some de-harsher or plugin that tames clipped signals. Also, if in case the room is fully recorded in the vocal, try using some plugin that reduces the reverb that comes with the room in order to end up with a dry vocal track.
And now if you are done with the cleaning up, it is time to start mixing rap vocals that will bang into the song.
EQing
We believe that you’ve already seen this topic in other of our articles, but this is a process that we really cannot go without in order to shape the frequencies of the song. The concept of vocal equalization can be better understood if you break it down into two stages.
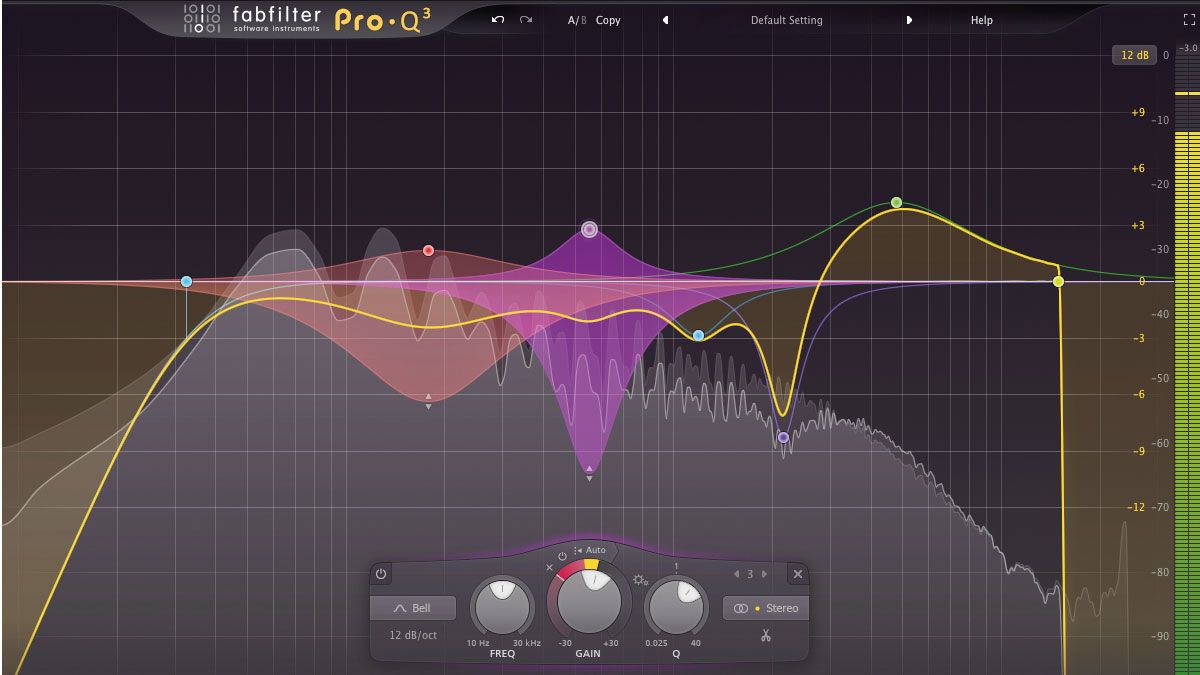
An initial stage will focus on resolving any issues with mud, harshness, nasality, boom, and so on. The term surgical EQ or subtractive EQ is also used to describe this procedure. Usually, this step occurs before any compression or saturation is performed.
Here you want to use a precise EQ plugin where you can choose your own frequencies, something like the FabFilter ProQ plugin. This is our go-to VST when we want to take out frequencies of any signal, vocals included. Simply, detect the problematic areas, cut that band for the decibels you feel are enough, and move on.
In addition to compression and saturation, you may wish to add a second EQ to help enhance what is missing from the voice and make it more effective in cutting through the instrumentation.
As part of this process, you get the opportunity to experiment with analog emulation EQ plugins in order to add some warmth to the voice and add additional harmonics. Thus, tonal EQ is the name given to the process.
At this point, since we already mentioned analog EQ plugins, our personal suggestion is to go with the Maag EQ4 or with a Pultec emulation. If we are after some modern outcome, we usually go with the Maag or sometimes SSL EQ, and if we want some vintage feel – Pultec emulations.
Compression
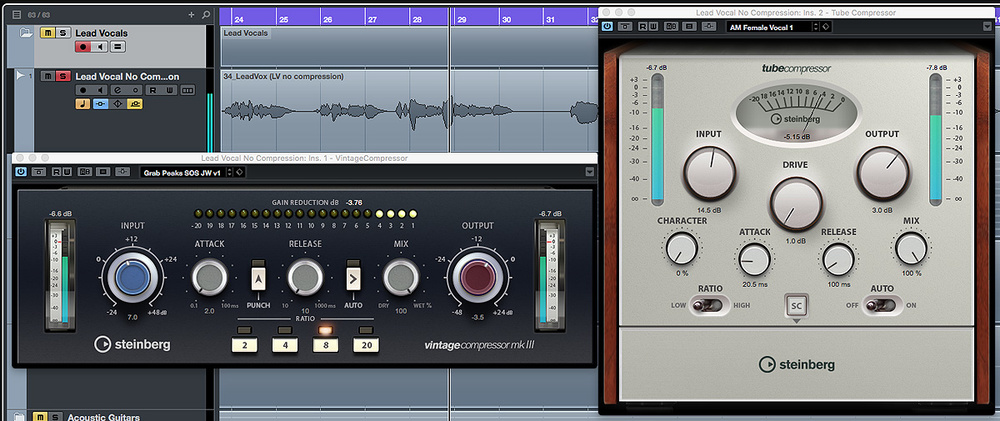
This is the process that you don’t want to mess up. Since rap vocals are full of dynamics and peaks, transients, and whatnot, keeping them under control is of crucial essence to the song. Even if you find out that your meters are showing hard compression and big gain reduction, do not hesitate to keep it that way if you end up with evened vocals. But first, start with some manual labor.
Before listening to the vocals, make sure they are not compressed. See if there are any words or lines that sound louder than the others. While those spikes are occurring, try reducing the gain levels. The compressor should be brought in after the vocals have been evened out.
The compression ratio should be between 1:5 and 2:1 when you first start. The threshold should be lowered. The compressor’s input meter should generally show the needle hovering near the peaks of the transients, sometimes right on the line or sometimes below, depending on how hard you’re compressing (which is good for thin/harsh voices that need more warmth and less high end). After you figure out what kind of compression you want, settle for a ratio to your liking.
In order to suppress harsh transients from rappers with a very percussive delivery, lower the threshold and use a higher ratio (like 4:1) to take down those harsh transients. It is easier to smooth out the delivery of an artist whose volume fluctuates gently up and down when the ratio and threshold are lower.
Having the compressor clamp down on the decay of the words will help you get those initial transients to pop through if the vocals sound dull after compression. Keep the release time of the compressor short since rap is a fairly quick genre. This results in a duller/softer sound because the transients of the next syllable won’t come through.
If in case you want to keep some of the transients, yet you still want to have things under control, you should probably reach for a solution that will get you the best of both worlds. Use parallel compression like a boss and keep both the peaks and even out the vocal. To understand this process a little bit better, check our full article on parallel compression here.
De-Essing
Once we are done with the two most important processes of mixing any signal – EQ and compression – we can move on with some more to polish the vocals to our liking. So most of the time, de-esser is the process that will come next.
Even though we EQed and compressed the vocals, the sibilances might still be there, not maybe like at the beginning, but still might be noticeable. Add a de-esser and point it to those areas where you want it to clamp down the sibilances.
Lower the threshold enough to tame them and get a natural sounding vocal. If you overdo it, you might end up adding a lisp to the artist, and that is something you want to avoid.
Additional Effects
In terms of other effects that you can add to the vocals, we are going to put them all under one heading and briefly go over them, just to give you an understanding what are the possibilities that you are having here.
To start with some time-based effects, we will mention the reverb here. Our personal preference is to use little to no reverb when we mix rap vocals. The only time we use reverb is if the track in hand requires it and we use it with sidechaining so the reverb ducks following the dry vocals. Otherwise, little to no is good on the lead vocal.
What we mostly use is a stereo delay. The delay will not add that much confusion to the vocal but it will inject a touch of playfulness to the signal, appearing more like melodic stuff that will just compliment the signal. So play with the delay to find out the best settings for the song you have at hand.
And probably the last effect we are using here is saturation, but not that is not the least important. This is probably the effect we have on our vocals 100% of the time, to end up with that rounded-up vocal and get some fullness to it. Our weapon of choice here is the Twin Tube from SPL, the VST version of it. Try it out, you’ll be amazed!
Other Points To Have In Mind
When you mix vocals, no matter the genre, you want to have them to be in the center and not aim to get a very wide vocal track. If in case you have a melodic rap song, play with the backing vocals, but have the main ones to be strictly in the center of the stereo field.
Surround the centered vocals with the beat and other elements. That will make the separation between the music and the vocals, having everything to be audible and clear when reproduced on other systems.
Also, you might need to time align vocal layers to avoid any phasing issues. Nudge the vocal forward or backward to fit the phase in order to avoid any cancellation and end up with thin vocals. This is a sign of a treated and good vocal mix.
The aim is to have the vocals to be in the listener’s face and to completely grab their attention, and all of this will be depending on your settings that are set on the used plugins in your vocal chain.
Conclusion
Well, we believe that our neat little article here will set you on the right path to getting radio-ready rap vocals. All of these processes can be done even with stock plugins, so do not fret if you are not having some premium ones. That will not make you a better mixing engineer.
What will take you to your next level is practice and experimentation. That is something we always propagate. If you are having any questions in regards to this topic here we covered or if you think we missed something, please let us know in the comments below!

