Microphone Placement Mistakes
Introduction
Our attention was drawn to how many people nowadays find themselves in front of microphones while browsing social media. Many first-time microphone purchasers make mistakes when purchasing a microphone for the first time.
Recording studios and live stages are no longer the only places where microphones are used. Despite the fact that microphones are now a part of most people’s everyday lives, you will find that plenty of common microphone mistakes still occur every day. It is strange how easily something as simple as the positioning of a microphone can be messed up.
It is not necessary to be an expert in microphone technique if you have never used one before. Most of these suggestions are common sense, cost nothing, and can result in dramatic improvements in your results.
It is even more difficult if you are making any of these eight mistakes. Then you are in deep trouble…
Top 8 placement Mistakes
1. Making Uninformed Mike Choices
Each microphone has a distinctive sound quality inherent to its design, which will produce unique results based on the source. There are several different types of microphones on the market today. You will be limited in what you can accomplish with your sound if you are unfamiliar with these characteristics and how to match them to a specific instrument.
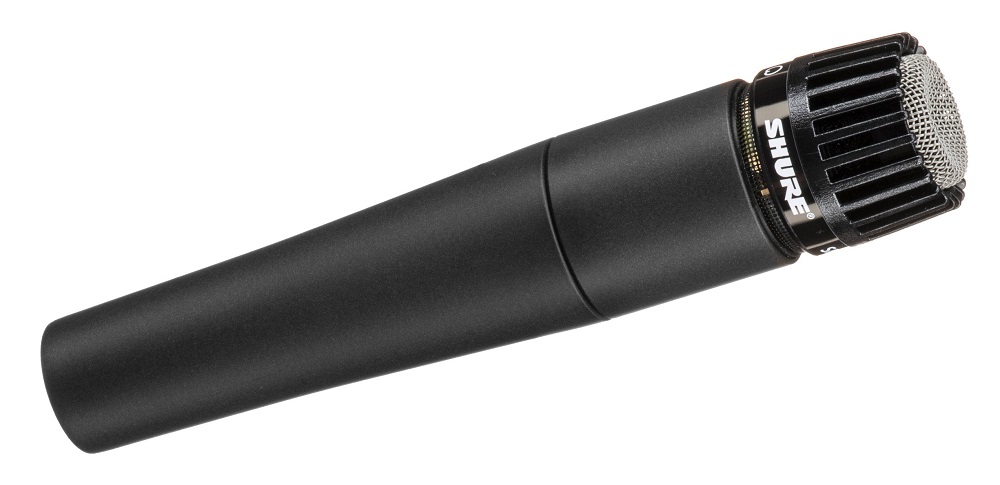
The Shure SM57 is considered to be one of the best snare mics due to its outstanding low-midrange response, solid presence, and useful proximity effect that is well-suited for snare drums.
Therefore, if you wish to capture crisper detail from a stick attack, use a small-diaphragm condenser in conjunction with a dynamic to better capture the heights and blend them. Make sure that the capsules are aligned to ensure that phase issues are not encountered. In light of this, we need to discuss phase issues.
2. Placing The Mic Too Close Or Too Far Away
Recording noise is a common problem, so many people naturally assume that placing the microphone closer to the sound source will prevent it from picking up unwanted sounds.
The Proximity Effect might also be amplified by this, resulting in an unnaturally low sound on the entire recording. Not only does this not reduce noise by much, but it may also give you a heavy dose of the proximity effect as well.
On the other hand, you may also place the microphone a little too far away, capturing ambient sounds in the surrounding environment. It is important to note that there is a certain sweet spot when it comes to microphone placement, depending on the microphone, the sound source, and the recording environment.
Based on the sound, we adjust the distance from the sound source from as close as six inches to a foot away.
3. Using the Wrong Microphone Type
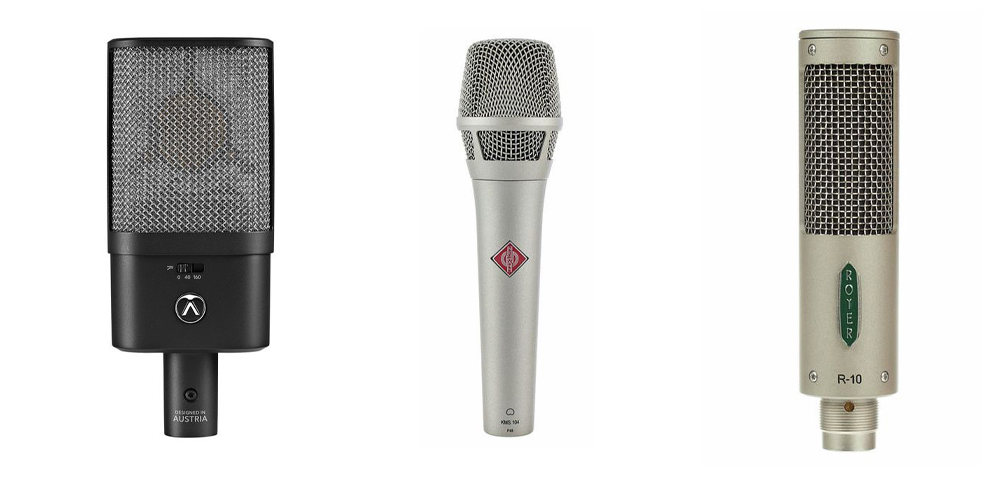
When recording music, three types of microphones are used – condenser microphones, dynamic microphones, and ribbon microphones. Different microphones have different timbres and are better suited to picking up different types of sound.
Condenser microphones, for example, are great at picking up details due to their sensitivity. Because dynamic microphones require more energy to move their capsules, they are less sensitive and detailed.
Finally, a ribbon microphone is the most subdued and warmest sounding of these three microphone types. It requires a significant amount of amplification.
Choose your microphone based on the genre you are creating and the sound that you are trying to achieve – sometimes a brighter or more detailed sound is not better.
In order to determine which microphone is best suited to a particular sound source, it is recommended that you experiment and test out as many options as possible before making a decision.
4. Cupping the Mic Head
Put down the ball of the mic and hold the mic shaft as it is supposed to be held. In spite of the fact that you may not realize it, “cupping” the back of the microphone will have a profound effect on the microphone’s performance, sound, and ability to reject feedback.
Microphones don’t work well if their backs are blocked. If they are blocked, they won’t work as well. It’s a bad idea. Sounding the part is more important than looking at the part! The new word for cool might be dope, shiznit, or whatever. However, you are the worst nightmare of your sound engineer!
A professional directional microphone’s polar pattern is destroyed when your hands are cupped around its head. This is not recommended.
Since you enjoy cupping the microphone, we can only recommend that you test different microphones at a music store to determine which model will tolerate cupping best.
5. Talking Into the Wrong End of the Mic
There is no doubt that this is the most common mic error we see among first-time users of mics; it is actually a mistake that we see in TV dramas on a regular basis. How can you determine which end of the microphone is the “right” end to speak into?
A side-address or end-address microphone depends on two factors: polar pattern and size. Confusion? The difference is easy to tell, and there are a few good rules of thumb. Which end of the microphone should you “address”? A good rule of thumb is that on an LDC, the manufacturer’s logo should be located on the side of the microphone and should be facing you.
The sound will be thin, quiet, and require significantly more gain than you would expect if you do not follow these basic steps. Talking into the rear of a large-diaphragm condenser microphone is another method of talking into the wrong end of the microphone.
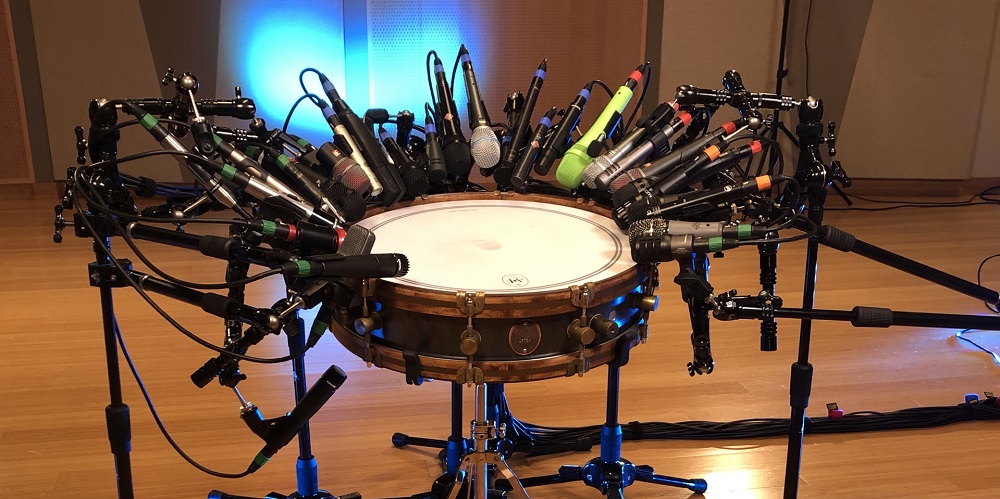
6. Too Many Mics
In a live sound system, there is an interesting phenomenon that occurs when more microphones are turned on. Feedback is more likely to occur. During the process of doubling the number of microphones, the amount of overall volume that can be obtained from those mics without feedback is reduced. This is the most important point to keep in mind.
Having too many microphones on one source leads to the problem that one microphone will receive the sound at a different time than the other. By canceling out certain frequencies, this effect is known as “comb filtering,” which is described as sounding like subtle warping or phasing.
The sound system will only be able to be turned up to a certain point if there is a stage full of microphones. You can actually increase your volume by reducing the number of microphones in your choir or other sources.
7. Using The Most Expensive Mic By Default
Almost everyone has purchased a brand new posh microphone and uses it for everything, despite the fact that the price of the microphone does not affect the final product. To some extent, what you pay for is what you get; however, you may find that some voices sound better with a dynamic microphone.
After investing a considerable amount of money in a high-quality microphone, you are now prepared to use it for any purpose. Thus, it should perform better than a much less expensive microphone, shouldn’t it? There are, however, exceptions to this rule. When it comes to recording voices, there is no one microphone that sounds great on all sources.
It is important to understand that what might sound great to an alto singer might sound terrible to a bass singer. Audio engineers know that choosing the right microphone for the sound source is an important part of achieving a great take. It may also be a less expensive microphone in some cases.
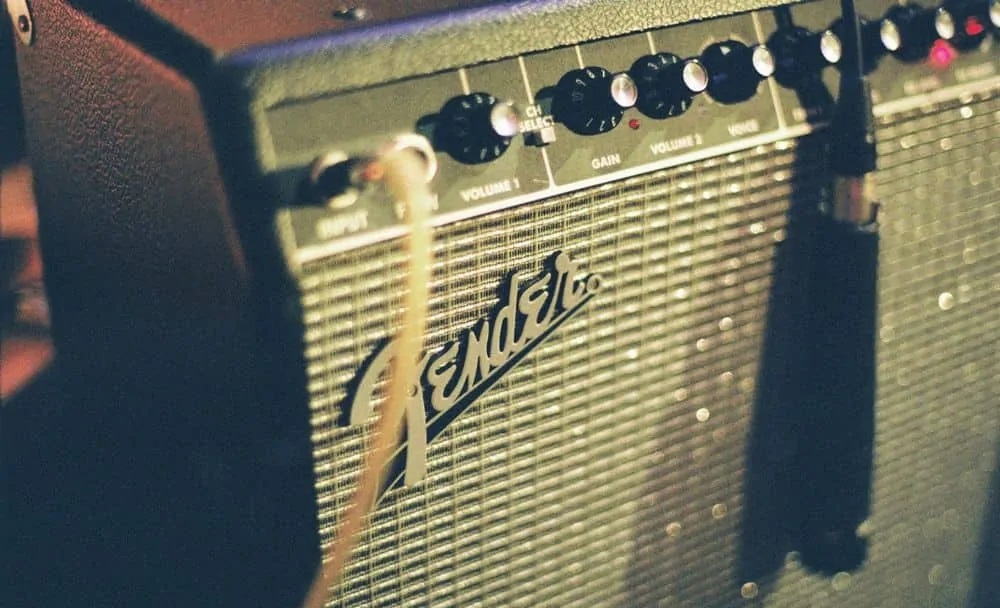
8. Hanging Microphones over the Guitar Amp
As a substitute for missing mic stands, this technique is frequently used. If you use a directional microphone, such as a cardioid, you will notice that the frequency response changes as you move to the side and back.
It is apparent that your microphone will sound better from the front than from the side the cheaper your microphone is. Ensure that you are aware of the polar pattern of your microphone and make use of it.
In spite of the fact that one thinks they have achieved the ideal tone on the guitar amp, it does not sound as good when they are playing on stage, and this is largely due to improper miking and equalization of the amplifier. There is no doubt that having the best sound possible is the most important aspect of the show, and one way to achieve this is by knowing how to mic a guitar amplifier.
Conclusion
Recording music can lead to a lot of mistakes – thankfully, there is more information available than ever before. Make sure you follow this list before and during recording to avoid making mistakes.
It is essential that you use a small buffer size, a high sampling rate, and a high bit depth. Quiet is best for recording. You should place your microphones where they will provide the best sound quality.
If you have experience and know exactly where it is going to sound good, you can set up mics with a minimal amount of thought. It is also possible to take shortcuts by focusing on the sweet spots first.
In order for an instrument to have a balanced sound, it must have a sweet spot. Imagine a girl with the perfect amount of makeup. In the absence of makeup, she may appear uninteresting. Too much is being done to cover her face, and she is trying too hard to do so.
If you are having any questions about the topic we covered here today, please let us know in the comment section below and we will be more than happy to assist!
Warm Audio WA-47F Review: One Large-diaphragm FET Condenser Microphone!
Universal Audio SP-1 Review: New Standard Pencil Microphone Pair from UAD!
Lewitt LCT 440 PURE Review: Amazing Condenser Mic on a Budget!
Royer R-10 Ribbon Microphone Review: Amazing Ribbon Mic by Trusted Developer!