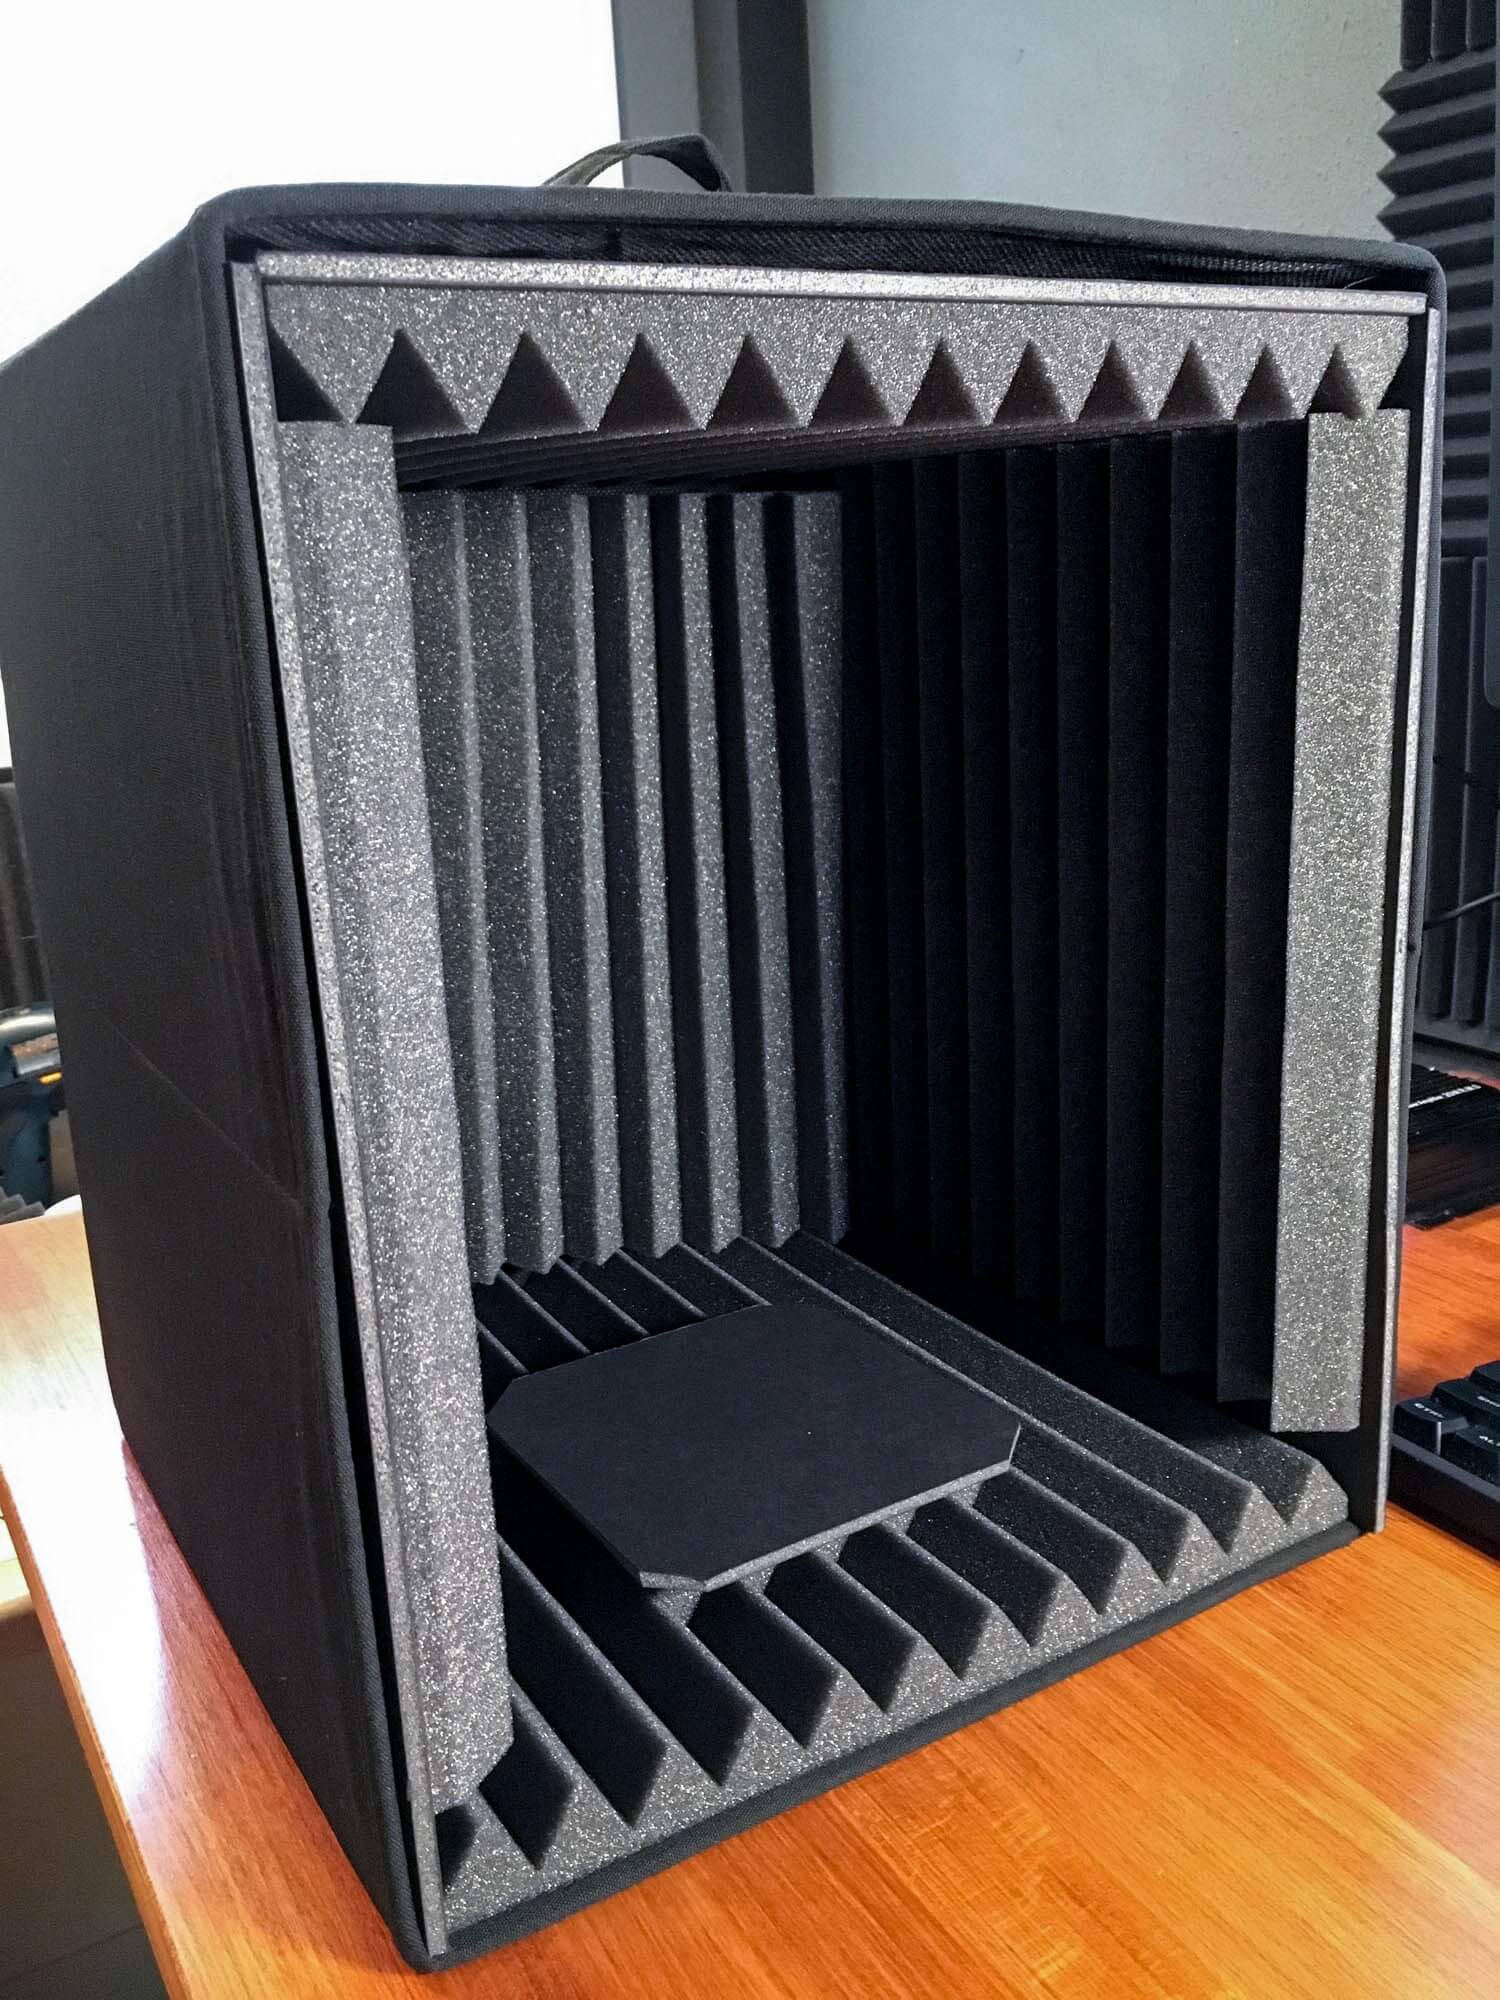
DIY Microphone Isolation Shield
Introduction
Hardly anybody has big enough pockets to afford a completely enclosed isolation booth. The one with full protection of acoustic foam to do a vocal recording. Some don’t even have a place for a vocal booth in their house or condo. There are many low-cost and simple concepts for creating your personal DIY vocal booth or portable vocal booth. This is without a doubt one of the ideas we got here up with.
First, get a high-quality microphone. The next easiest factor we could do was to have some type of audio isolation barrier around the microphone. We researched many podcast producers and different vocal experts to see what easy options we may discover.
We worked with acoustic foam panels in our own home workplace and figured we may discover a low-cost solution to construct one on our own. Here is what you will need to do to create your own DIY microphone isolation shield.
You do not have enough time on your hands and you need to purchase a microphone iso shield as soon as possible? Here are a couple of suggestions by us!
| IMAGE | PRODUCT | Amazon Store | For US Customers | For EU Customers |
|---|---|---|---|---|
 |
||||
 |
1. Materials
Okay, so you will want professional-grade acoustic foam. You may get these items at any music store. They sell the stuff for placing on the walls of your studio, yet, it’s identical materials. They’ve got a 2 pack of 12″x 12″ foam. It is the type with ridges, the one downside is these ridges are point.
So curving the foam will trigger these excessive pyramid shapes to close up, and there will be no extra low points. You’ll be able to cut off the tips of these points, low enough that the gaps will not close up once you curve it. If that is what you need, go for it. It’s easier. Or you may choose another design on your foam that can preserve the low points even after bending it.
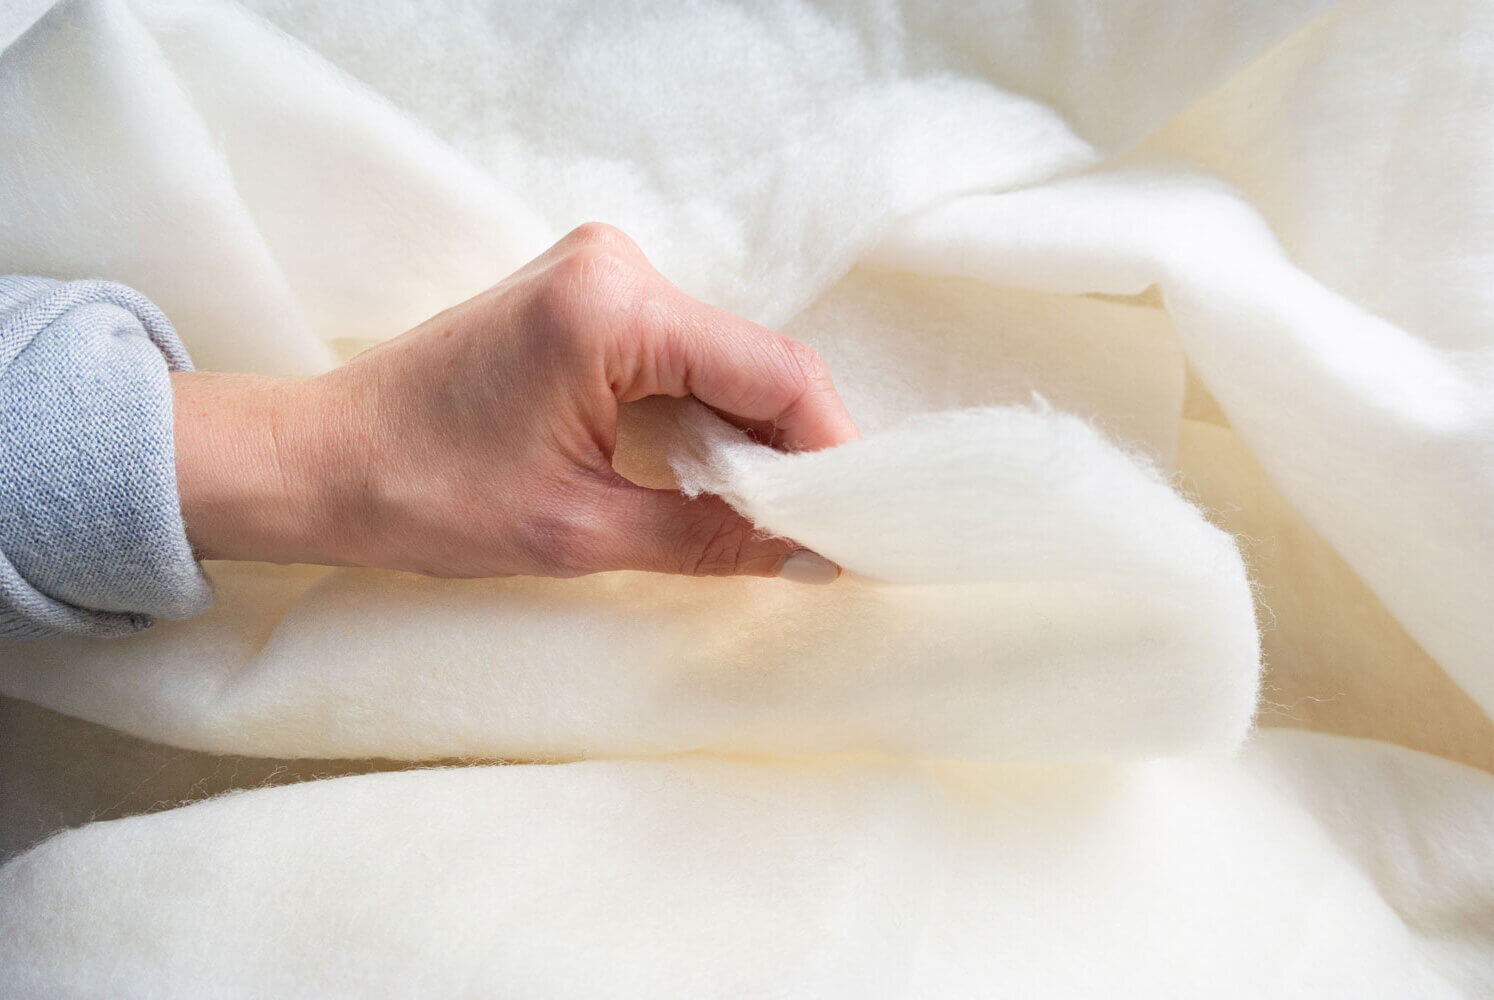
One other factor you can try and use here is unrefined wool. This still is nice absorbing materials that will be helpful in such projects. It will not look “professional” like the foam, yet, it should still do the purpose. Even in some cases, the DYI mic isolation shield will be more efficient this way.
You can use an already pre-created box that will be of lightweight materials. but firm when assembled. Or you can use hard cardboard where the absorbing materials will stay. Additionally, you can use pressed wood the create the boxing of the self-made mic shield. This won’t be effective as the Kaotica Eyeball but will do the job and help you along with your vocal or instrument recordings.
You now want glue. We recommend spraying adhesive. It is a lot simpler. You want the type that works on metal, foam, and wood. If it does not say it works on metal, do not get it. Instead of using super glue or hot glue, with the spraying glue, you’ll get through this messy part easier. If you have a chance to go with an easier option, don’t hesitate to do it, even when it costs a bit more.
You’ll need these tools. A pointy Knife – a few inches lengthy. Too long will trigger the weight of the blade to pivot on the foam and produce uneven cuts. A box cutter knife – one with a blade that may adjust to only lengthen one inch or so out of the handle. A ruler. A tough straight edge, that’s long and broad. And also, a pair of scissors. Such tools should most of you already have at home. And if you do, you are ready for the next step of your project to create your DIY microphone isolation shield.

2. Development & Assembly
For our example, we are going to go with a wood option. This one is much more practical and steady if you don’t plan to move it around so much. Surely will be hard to be portable. If you wish to create a DIY vocal isolation shield that will be simple to move from place to place, you have to go with lighter supplies. But, in our instance, we are going to go with a DIY microphone isolation box that will be in our home studio and stay there.
Listed here are some steps that you could do to sort it and assemble it:
- Step 1: Sand the wood. Sand each bit of plywood in order that there aren’t any tough surfaces or splintered woods.
- Step 2: Set up hinges. Be sure that the hinges fold in. Mark the location with a sharpie, drill pilot holes with a small drill bit, and then screw the hinges with screws.
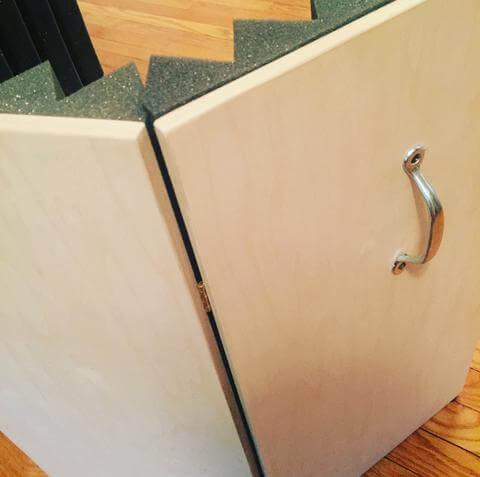
- Step 3: Mount acoustic foam. Use adhesive squares, spray adhesive, double-sided tape to place the foam on the boards. Ensure to press onerous for at least thirty seconds so the adhesive can create an excellent bond with the acoustic foam.
- Step 4: Set up handles. The handles we used required two small screws to mount. We mounted our handles on the again of the 2 outer wooden panels. Drill pilot holes with a small drill bit and place the handles with screws.
- Step 5: Set up non-slip grippers. Mount the non-slip grippers on the underside of the unit. The ones we used had been self-adhesive.
Tonor Orca 001 USB Microphone Review: Great Budget-Friendly Gaming USB Mic!
JZ Microphones Vintage 67 Review: Amazing Mic and Great Sound!
Austrian Audio OC818 Review: Great Large Diaphragm Mic to Have!
Soyuz 1973 Review: Great FET Large-diaphragm Condenser Microphone!
3. Extra stuff to plan
The microphone can have 1 or extra cables popping out the back. I cut a few threads on the seam after which coated them with some black duct tape to allow a USB or different cable to run out the back. If you will get it, gaffe tape is way superior and can last. Ideally, take a couple of minutes and stitch some strengthened edges across the slit, to maintain the seam from tearing further.
In case you are doing a tabletop setup, like in front of your laptop as we did, you should use a few more items of foam. Just to create a matt for the mic, and additionally, secure it. That is so you do not get any reverb off of your desk.
Now all you want is a pop filter. There are a few videos on YouTube to find out how to make these low-cost as well. Get an embroidery hoop for $2, and put some pantyhose or nylon materials in it.
Frequently Asked Questions
What does a microphone isolation shield do?
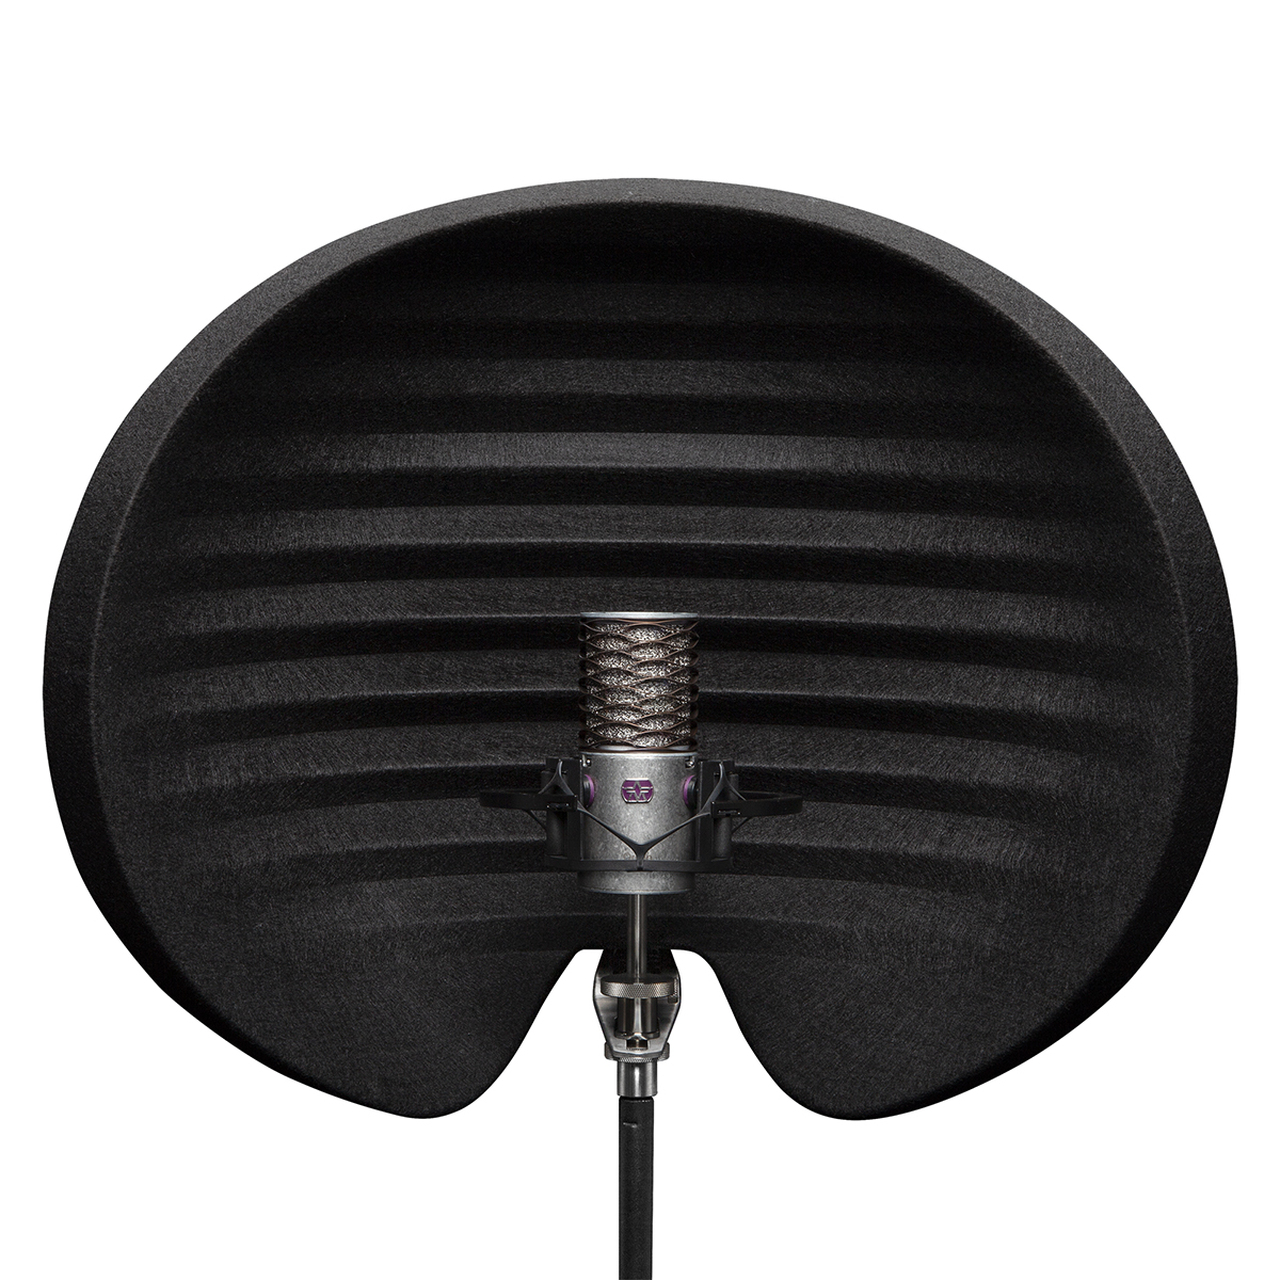
The perfect microphone isolation shields act as filters, minimizing undesirable background noise. While additionally decreasing sound-wave reflection for an extra balanced recording of your vocals. Isolating your microphone from its surroundings, the shield improves the quality. Also, it prevents distortion.
DIY microphone isolation shields can additionally professionalize your own home recording studio. They make an incredible first buy for many who have yet to determine a fixed recording area but are ready to take their recordings to the next stage.
Why use DIY Microphone Isolation Shield and does it work?
For sounds at a larger distance, isolating the mic from the undesirable sound will help maintain recordings clear. There are plenty of methods to go about this. Relying on the source of the undesirable sound and how loud it’s on the mic, relative to the specified signal.
If the leakage is stray sound/noise, then the perfect answer is to eradicate that sound. Both on the supply or by positioning a barrier between the mic and the undesirable noise. The hum and buzz of air conditioning is a standard drawback. Since low-frequency sound tends to fill the room, one of the best answers could also be to turn the AC off while recording.
To maintain the recording room from getting too sizzling and stuffy, the AC could be run between takes or every time there’s a pause within the session. This isn’t perfect, but, it may possibly work. A DIY mic shield is a perfect tool to stop the stray noise and get the best possible recording.
What stand to make use of with a DIY microphone isolation shield?
The microphone isolation shield is a bit on the heavy side. Weighing over 2 to 4 kilos, you’ll want to make sure you have enough support. One of the simplest ways to help the isolation shield is by mounting it on two heavy-duty tripod microphone stands. You can install a twin clamp mounting bracket, which makes it appropriate for attachment to any stand.
Our suggestion is to go with a stand that can carry some weight, like the Post Audio Heavy Duty Mic Stand. This stand is heavy-duty and will have the ability to withhold the load of the stand. You could choose to add further DIY reinforcement to the bottom of the stand in case you’d like. But, these ought to do the job.
Conclusion
By using a microphone shield, you take away one path by which the sound waves can travel. Which suggests that you will have fewer reflections in the area. Once more, a completely acoustically-treated space is the one solution. Do this to isolate vibrations and defeat all reflections. But, given the low-value level, they’ll actually make a difference for not a lot of cash. And the truth that they do not need you to change your living area completely.
In my expertise, having a microphone isolation shield in your studio is important to recording nice audio. In the studio, a DIY microphone isolation shield or reflection filter offers the ability to shape recorded audio. We hope you will like our article on how to create your own DIY microphone isolation shield and that we helped you to save some money doing it.
Here is one other way to make your own DIY Microphone Isolation Box
Check our eBook on Mixing Tips! If you want to get a more in-depth breakdown of those tips we share, follow our link and get the “Ultimate Mixing Tips Booklet” and up your game quickly!
How to Make Bass Traps: 5 Easy Steps for DIY Acoustics!
Do Acoustic Panels Work? Great Way To Do It + DIY Method
DIY Sound Diffusers: Great Method to Make Skyline Diffusers!
DIY Microphone Pop Filter – What is Pop Filter + Great 3 Methods To Do It!