Advanced Guitar Mixing Tips
Introduction
Well, the time comes when we are going to share some advanced tips on how to mix both electric and acoustic guitars. Sometimes, everybody can get stuck in the process of mixing guitars, but in this article, we are going to provide you with some tips on how to overcome some common issues.
The mixing of guitars can sometimes be challenging. There are many great guitar tracks on albums, but when mixing guitar tracks, you might find yourself scratching your head: how do we turn regular guitar sounds into very rich and prominent ones?
So let’s start and see what kind of tricks and tips you can reach for when you are at the point of mixing the guitar track in the song you are working on.
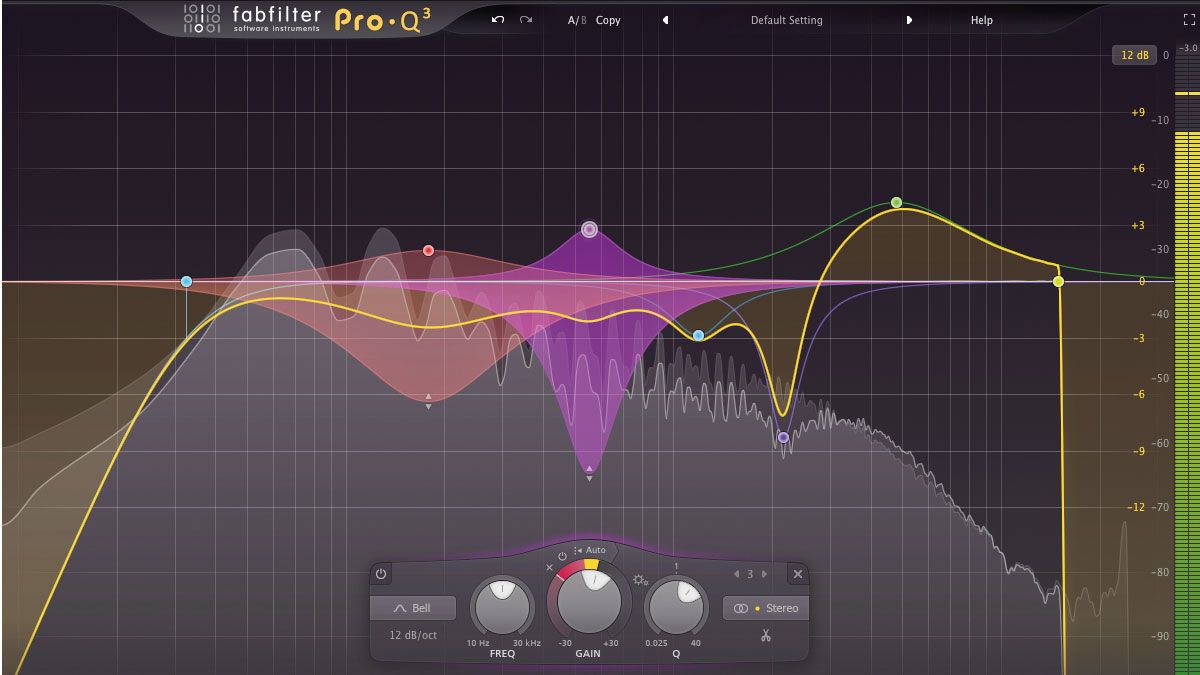
1. Cleaning the Guitars for Further Processing
Even though it is not an advanced tip, surely will enable you to perform advanced techniques, since the sound will be cleared out and the guitar tracks will be ready for more. When it comes to cleaning the tracks, we mean cutting frequencies from the digital signal, that are not supposed to be there in the first place.
A simple low pass filter and high pass filter should do for the basic cleaning of low and high frequencies. In addition to those cuts, you should go over the body of the guitar and cut down the areas that you think are not good for the guitar sound and the whole song in context with the other elements.
We suggest using a dynamic EQ for the cuts because that will tame the area only when the signal goes above the threshold you are setting, and not affect the sound when these frequencies play in the normal range you prefer.
In terms of the frequencies of the guitar, they prefer a slight boost in the upper mids, a slight dip in the low mids, and tastefully cut in the low frequencies. You will need to add the body without compromising the low end of the whole guitar bus.
2. You Shouldn’t Mix in Solo
Making the mistake of mixing your instruments while soloing is one of the most common mistakes musicians make. Your guitars will never be soloed and only be heard in the context of your mix when people listen to the final product.
In the case of performing detailed audio repairs, or comping guitar takes, soloing the guitar is a good idea. When you have completed the processing of your guitar tracks, turn off the solo button and listen to the interaction between your guitars and the rest of your mix. If you place a guitar among a group of other instruments, it may not sound the same as when it is placed on its own.
No matter if you are compressing, EQion, or whatever process you are on when mixing the guitar part, you should always do it in context with the other instruments. This will ensure the guitar to be mixed properly with the other elements and will help you make the decision easier to make the proper balance.
Since the guitar is mainly one of the lead elements in guitar-based music, performing this process together with the other elements of the track will give you insights into how you should do it. And being a lead and a difficult signal to process, doing it in context is the right way do to it.
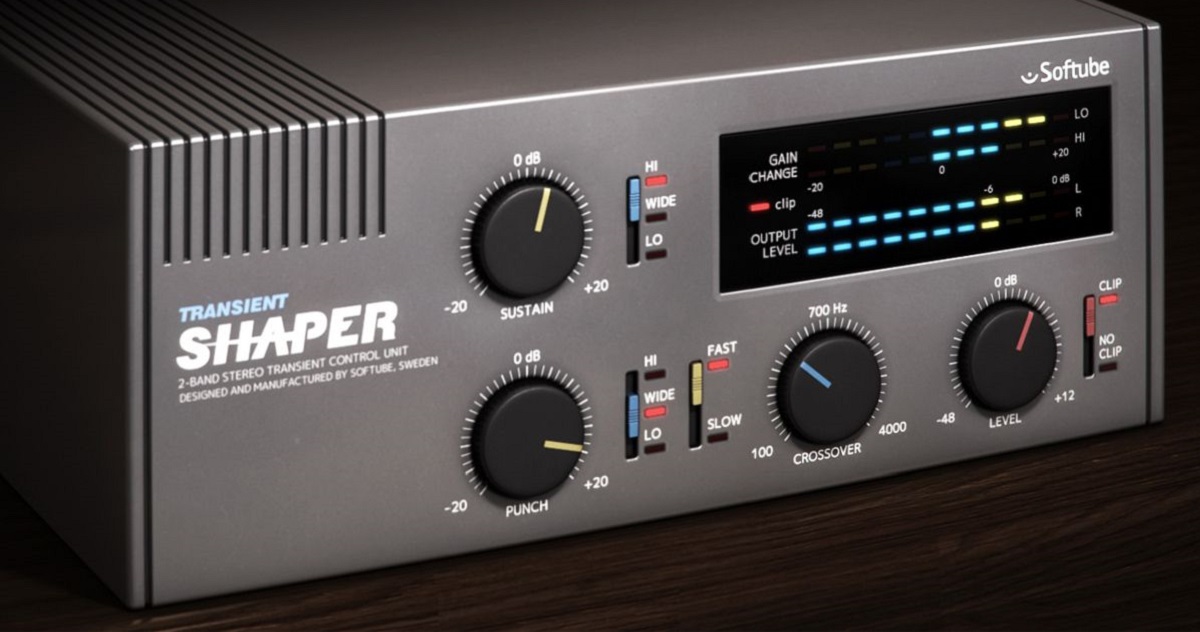
3. Transient Shaper For Plucked Sound
Adding a transient designer to a guitar sound that sounds too jangly will reduce the plucky nature of the sound. Bringing the guitars into the mix will smooth them out and allow them to sit back in the mix. It is possible to play the guitar in a variety of ways, including by plucking, picking, slapping, and so on.
Each style of attack differs in intensity, not to mention the fact that each player sounds different because each one is unique. It is inevitable that you will encounter moments during your playing when the sound of picking, plucking, or slapping the strings becomes too loud. For the purpose of reducing unwanted pick or plucking noise, there are a few tools available.
The transient shaper will help you tone down the pluckiness of the guitar and make it sound more natural, which will help you with the further compression process and the general sound of the guitar part. So do not overlook this process and always try it if you are having this issue with the guitars.
4. Saturate Acoustic and Electric Guitars
By adding a warm saturation effect to your signal, you can produce pleasing harmonics. Acoustic guitars benefit immensely from tape saturation, which adds density and vibrancy, often resulting in a warmer, more “vintage” sound. In addition to enhancing kick drums, 808s, vocals, and guitarists, saturation can also be used to minimize high-end harshness, a common problem with electric guitars.
Saturation effects can also be achieved by using compression and certain EQs. It can be very effective to use the Waves J37 to create this effect, but there are a number of other options available for simulating tape saturation as well.
There is no restriction on the use of a broadband saturator, but a multiband saturator will allow you to target harsh frequencies specifically. You can use saturation to address many top-end issues without resorting to frequency fishing or extreme forms of subtractive EQ if you are open to coloring your guitar recordings.
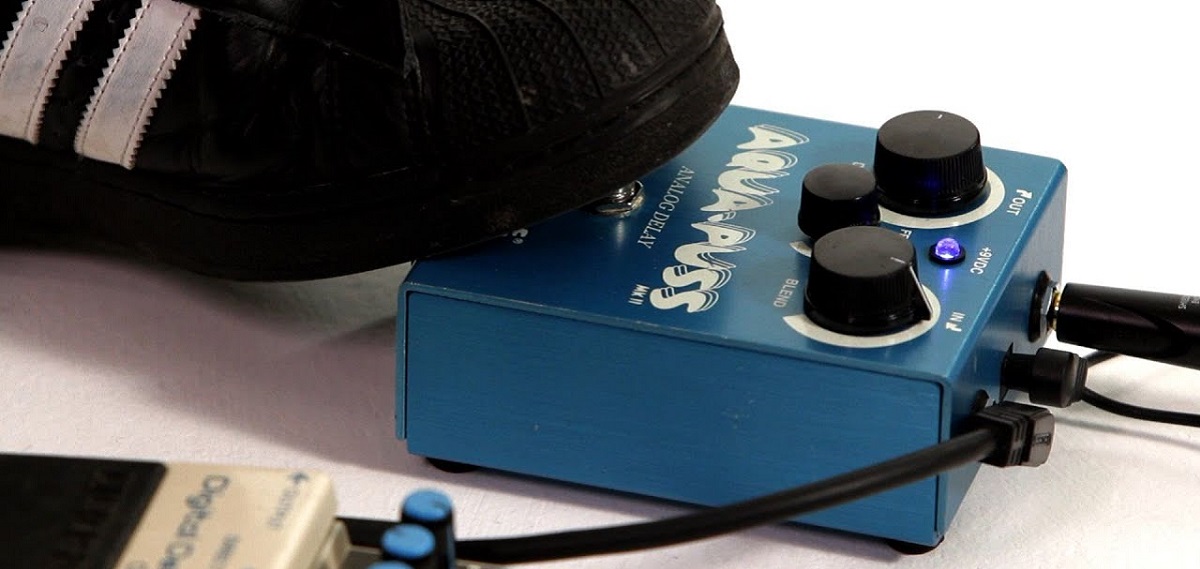
5. Using a Slap Back Delay
There are tons of hit records with slapback delay effects. There is no difficulty in setting it up. Your mind probably goes to a long canyon when you think of delay, where your voice repeats endlessly.
Slapback delays are like that, only they are single echoes. The original signal is only repeated one time. In other words, you clap while standing in an alleyway between two buildings, hearing your clap repeated quickly.
The repeat is super fast, so it adds a sense of space. We love using it on guitars and vocals as part of a mix since guitarists and vocalists love it when they play live. By adding some energy and depth, you don’t have to use reverb, and you won’t have to worry about washing out your dry signal.
Our approach is to use more effects after the slapback delay, but our goal is usually to use it at the beginning of the process to establish the foundation of the sound. Vocals or guitars are more commonly affected by this effect. We believe that these are the most popular, but they can be applied to anything you like.
6. Reamping the Guitar Part
A reamping process consists of recording a dry or clean track and then re-recording the track by sending the clean track through amps and effects. There are numerous advantages to reamping: from the musician’s perspective, fresh performances are usually captured best.
In the previous era, the guitarist would be forced to perform for hours while the engineers moved mics in an attempt to achieve the perfect sound. During the recording process, the guitarist is tired and prone to error by the time the engineer is ready to begin.
Reamping is a method in which the track is recorded first, and then the sound is addressed later. It is therefore important to capture the performance of a musician at their best. When you are satisfied with the sound, you may move the microphones around the room, change amplifiers, or add effects at your leisure.
Additionally, you will be able to adjust the sound of the track in order to match the mix as the production progresses. An example would be if a rhythm guitar track became too fat and took up too much space in the bass area. The moment you begin reamping, there is no turning back.
7. Layering Several Guitars for Variation
With clean rhythm guitars or acoustic guitars, adding variations to strumming patterns is a great technique. Try strumming a slightly different pattern on the double track after you have locked in your main part. There is no need to change the whole thing, just mix it up a bit. As a consequence, your parts and your mix will have left and right motion. Picking patterns with single notes works really well as well.
It is possible to make double-tracked, single-note-picking patterns sound like delay taps when rhythmic variations are added. A defined, even propulsive groove is often achieved by playing several bars, selecting the one or two that feel best, and copying/pasting them repeatedly throughout the part.
In the electronica world, many people stack massive keyboard patches in this way too, and it works just as well for rock as it does for pop or country. A similar part, but with slightly different octaves and sounds.
8. Parallel Compressor for Control
Parallel processing is another great application of compression. When you use parallel processing, you are essentially blending a heavily compressed signal with an uncompressed signal. Several methods can be utilized to accomplish this, including sending to a compressor on a return track or aux bus or controlling the compressor’s dry/wet settings.
The use of parallel compression is very common when mixing guitar parts that have a broad range of dynamics but lack overall body. This method is very useful when there is a very dense mix and a clean guitar solo needs to cut through.
Those strings rub against the frets, and you can hear every note that is played. With parallel compression, we have more control over these quirks than we do when we compress it the old-fashioned way. Compressing at least 6dB is desirable for an attack speed of medium and a release speed of fast.
In this way, the transients are greatly reduced, allowing us to enhance the tail of the sound wave, which thickens the guitar’s sound. The aux channel’s fader is moved up until a noticeable difference is observed between the heavily compressed and dry signals.
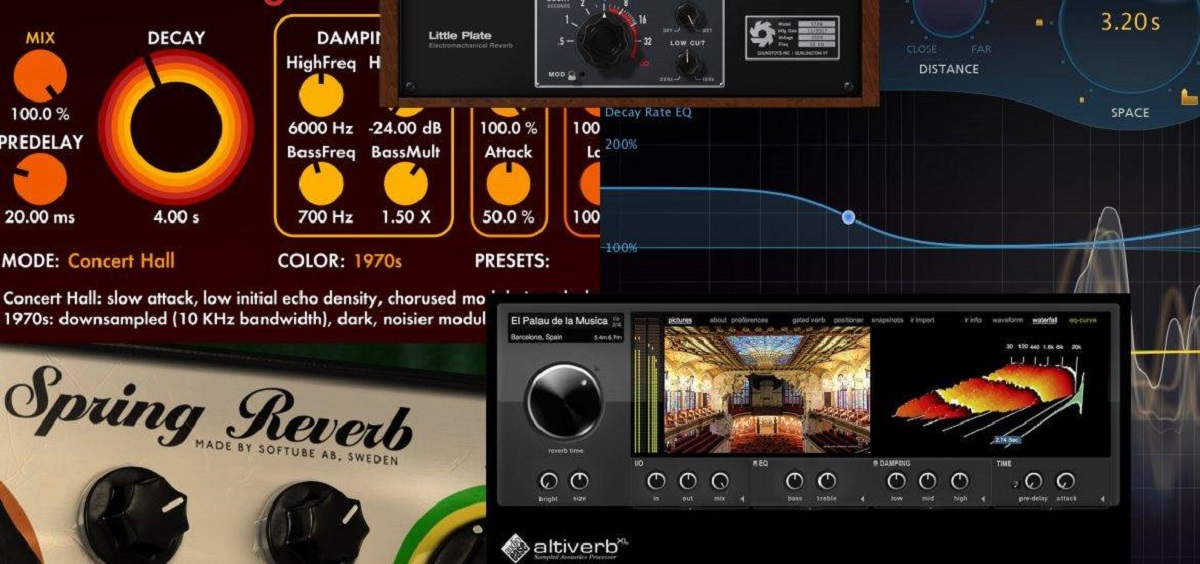
9. Experimenting With Reverbs
The stereo image of your song is not an exception to the rule that you need to balance the different elements of your tracks together in a shared space. By using stereo and mono reverbs in your mix, you can fill space and balance the guitars.
A stereo reverb can be used to provide width to a dead-center electric guitar solo in your mix. It will not only make your guitar appear wider, but it will also make the reverb easier to hear since it is not hidden behind your instrument.
In the case of double-tracking your electric guitar and panning the two recordings left and right, you are creating a stereo recording. There is still space up the middle of your mix, even though you have filled up the space on the sides.
Using your stereo guitar signal, panning your stereo image to the center will produce a mono reverb. By using the stock utility device in your digital audio workstation (DAW), you can collapse stereo reverbs into mono.
10. Using Amp Simulators
Your guitar can be connected to an amp sim in a very straightforward manner. In the first instance, connect your guitar to your audio interface. Next, open your DAW and create a new audio track. Ensure that the correct input channel is selected in your interface if it has multiple inputs.
In order to use the amp simulator plugin, you simply have to add it to the channel strip like any other audio effect, and you are good to go. If you turn on input monitoring, you will be able to jam and hear any changes as soon as you click on the plugin.
Simulators can produce sounds that are truly competitive with those from physical amplifiers and pedals for a fraction of the cost. As DIs avoid the acoustics of a room, bedroom musicians can obtain a level of sound quality that would otherwise be unattainable.
As processing occurs entirely within the box, you will always have the option to perform A/B tests or reimagine tones without having to meticulously rerecord each element.
11. Using Exciters or Bigness
Exciters are classified as distortion effects by some. Nevertheless, there is much more to it than that. A signal exciter enhances the signal’s frequency range in higher frequency ranges (4k and higher). In this manner, more overtones are produced, as well as richness and crispness to your mix. There is an improvement in sound that cannot be achieved by EQ alone.
Exciter plugins influence the harmonic content of your mixes and instrument channel tracks to make them sound grittier and brighter. Therefore, it is important to be careful about the amount of harmonic exciter that you apply to your guitar.
By using a modern harmonic Exciter VST, you can enhance your mix recordings’ harmonic content by passing the original audio signals through a filter (e.g., bandpass or a high pass filter) and then into the harmonic generator. Lastly, the exciter plugin blends the natural, lush, and smooth sound of the harmonic signal back into the dry signal. This is what will make your guitars sound great!

Conclusion
Besides the regular mixing processes that any guitar should undergo, we believe that we provided some that are not that common and that can be reached in specific situations depending on the song you are working on.
Lead guitar parts are often the ones that need the most attention, where you need to battle the room sound if recorded directly with a mic on the amp, get the right guitar EQ settings that sounds great. Use some of these guitar tips we shared and we hope you will get what you are after.
If you are having any questions in regard to the tips and tricks we shared in this article, please let us know in the comment section below and we will be there to answer your needs!