How To EQ Snare Drum
Introduction
Snare drums seem to be one element from the drum kit that bothers every music producer no matter the genre. When it comes to one of the pillars in the drum set and the whole song, the good-sounding snare is crucial.
In our case, when analyzing other songs, we always check how their snare drum hits and how it is EQ-ed. Besides the rest of the processing that we try to break down, EQ is one that shapes the frequencies and gives the final curve in terms of frequencies.
So in this article, we are going to talk only about EQing snare drums and shaping snare sounds to your liking. We are going to go over some basics and try to provide you with some additional tips to end up with a snare drum sound that sounds good. So let’s start mixing.
Cleaning the Snare Drum
Subtractive EQ Settings
In the frequency spectrum, subtractive EQ gives the snares a clearer sound and allows them to occupy a greater portion of it. As a result, other instruments will be able to occupy frequency ranges where snares are not dominant. There is no need for fancy tools for this step. Any transparent third-party plugin can be used, including stock plugins.
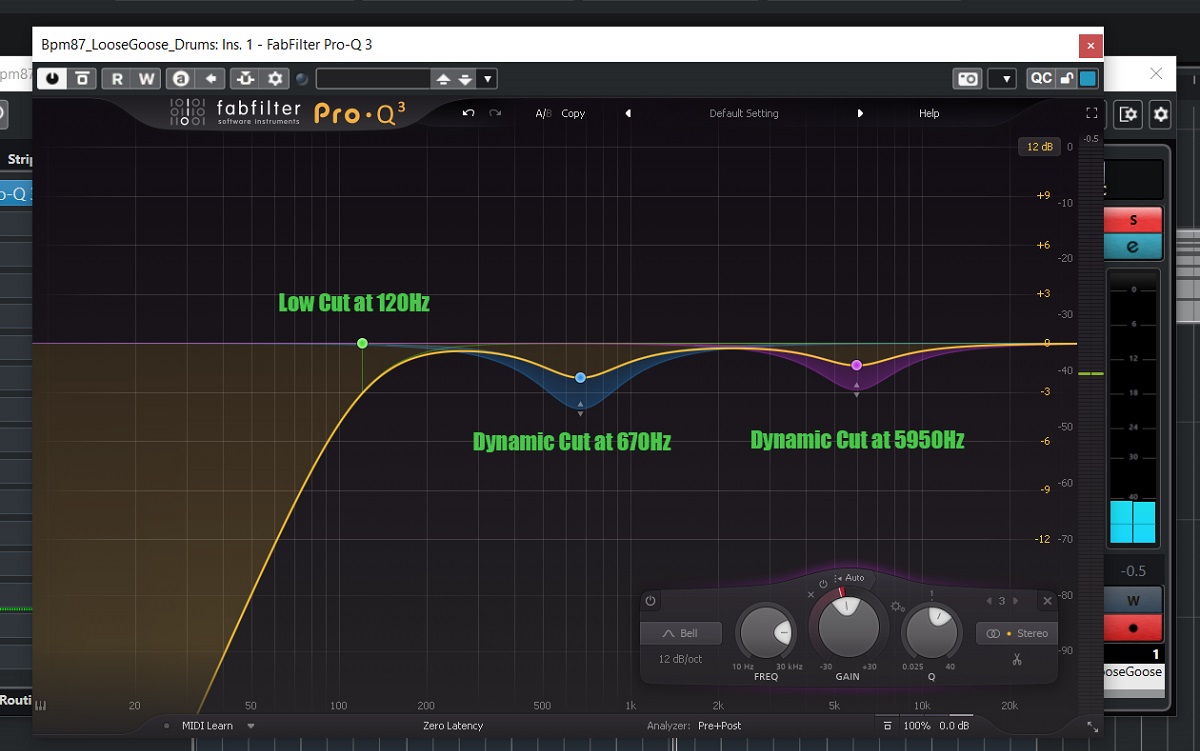
In most cases, removing any rumble is the first step. In order to remove any frequencies below 120Hz, you must create an HPF (high pass filter). In most cases, samples are provided with these frequencies removed, so adding an HPF will simply introduce a phase shift that is not necessary.
Snare drums are commonly characterized by boxiness, especially when recorded live. Snares that lack clarity and sound boxy usually have a problem in the midrange of the sound. In order to resolve this problem, it is necessary to reduce the frequencies between 500 Hz and 800 Hz. The bass and other instruments should begin to sound clearer once you have reduced these problematic low frequencies enough. On live recordings, boxiness is often an issue, but on samples, it is less of an issue.
Occasionally, you may experience a snare that rings or sounds harsh when working on it. The frequencies of a snare can be reduced between 4kHz and 8kHz in order to reduce harshness or ringing. Until you find the sweet spot, sweep around that frequency range. Use a dynamic EQ rather than a static equalizer if that is what is causing the annoying ringing or the snare to sound dark.
Additive EQ Settings
You may wish to add some compression to the snare once you have removed any unwanted frequencies (only if it is necessary) before enhancing it. If you are at this point in the process of mixing snares, you may want to consider using EQ plugins to add some color to the sound, or an EQ hardware unit, if you have access to one. This is largely due to the fact that most hardware emulation plugins provide a bit of saturation, which will aid in cutting through the snare.
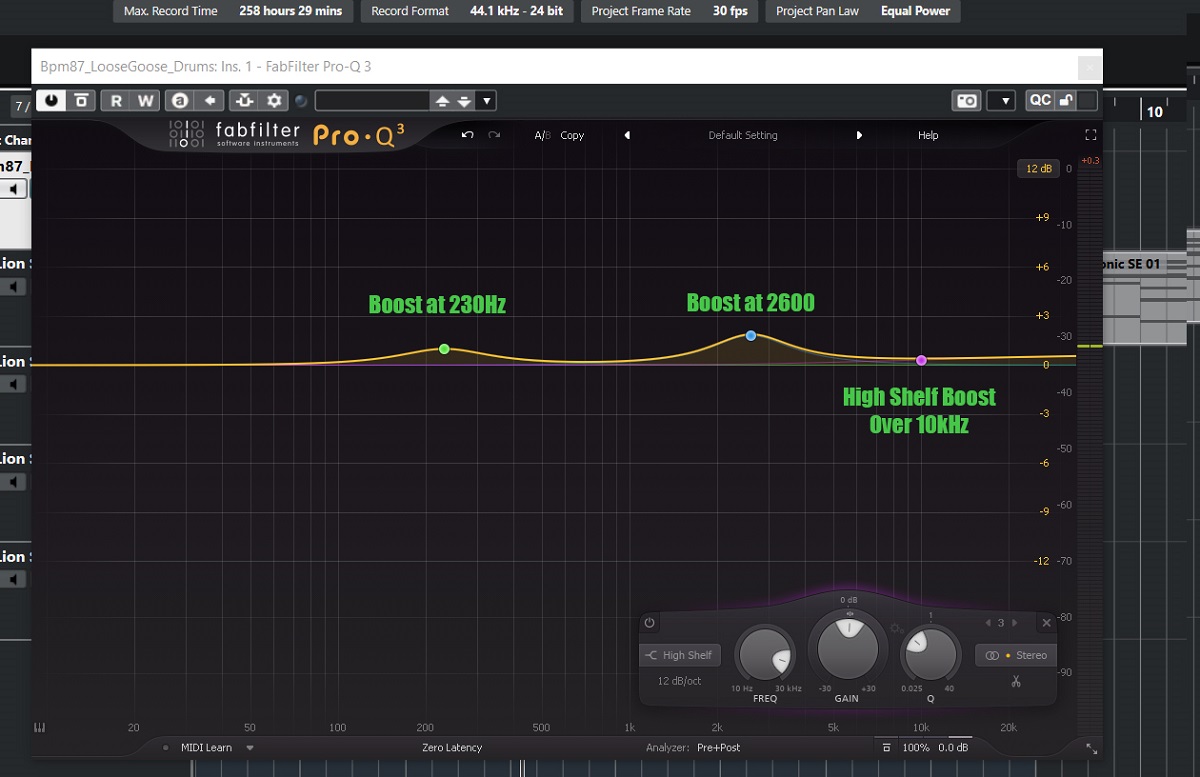
Boost frequencies around 150Hz to 250Hz if your snare drum sounds too thin if you are working on it. It will produce a warmer and fuller sound for the snare. It’s important not to overdo this, however, as too much will mask the bass and cause some boominess if you add too much.
Try to find some equalizer that is able to boost frequencies in this range and if it has a stepped and dedicated band, that is a huge plus since probably that EQ plugin or hardware has some natural warmth embedded.
If you wish to add some punch and clarity to your recording, you can boost the frequency anywhere between 1.5kHz and 4.5kHz. In this way, the snare will be able to stand out in the mix, helping it to cut through the mix. Ensure that the vocals or guitar are not masked by the boost. Using a narrow boost will not yield the best results. Instead, use a small wide boost.
Boost the frequencies around 7kHz and 10kHz when mixing a snare that sounds dull and dark in order to brighten it up. By doing so, you will be able to improve the definition of the snare in order to make it more noticeable in the mix. Select the filter that sounds best for that specific mix after trying both shelf and bandpass filters.
Check for Phase Issues and Tuning Accuracy
The first step before you begin EQing should be to determine whether the snares were recorded live or whether they were samples. It is important to check the phase of a live snare first. It is unlikely that the snare will be punchy if there is phase cancellation.
Phase is not only present when using live recorded drums, but it is also present when layering different snares in order to produce a big-sounding snare. It is also possible for phase cancellation to result from this, so be sure you check the phase relationship between the snare drums in order to ensure they complement each other.
Check our article on Audio Phase here!
There are some producers who question the value of drum tuning, considering it to be a time-consuming process. Our experience, however, shows that this is far from the truth. By tuning our drum sounds we can easily and quickly pair them with other sounds together, avoiding hours spent searching for the perfect combination of samples.
Obviously, experience plays a significant role in this process – the more projects you work on, the more you will learn about the characteristics you need to be aware of when seeking out kick or snare samples. In order to accomplish this, you will need to develop a deep understanding of the genre of music that you are creating.
Novices commonly make the mistake of listening to the loudest, heaviest kick or snare, and then following it. Within a short period of time, even by ear, you will be able to determine whether the drums are working properly with one another or not. In the video below, you will see how to tune your snare according to the song you are playing.
Saturating for Shaping Final Frequencies
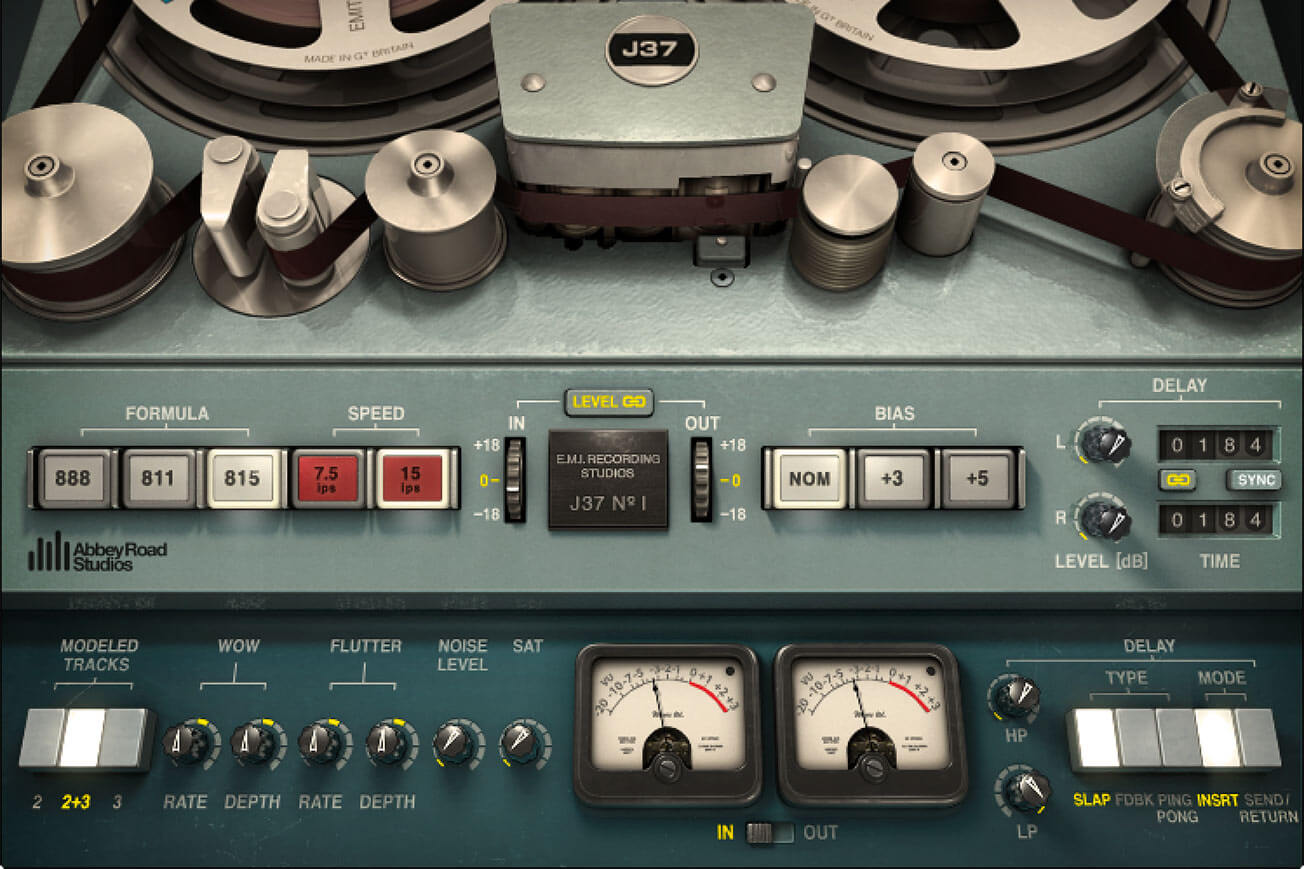
It is possible to give more warmth to a snare track by lightly applying distortion to it. There is no need to produce a noticeable distortion effect in this application. As a substitute, you would like to use it in order to fatten up the snare drum and soften the transients.
Ideally, it should be applied in parallel. In a similar manner to any other parallel processing procedure, you can attach a saturation plugin to a copy of a track, to an aux, or to the snare track working with a dry/wet knob. You will probably need to decrease this setting quite a bit for this application. You should experiment to determine which of those methods is most effective for you.
Ensure that the plugin enables emulation of solid-state and tube analog saturation, as well as serving as a good snare fattener. This application is capable of producing excellent results. A slight softening of the transients is achieved by blending in the distorted signal alongside the dry snare track. This will certainly add to the overall frequency spectrum of the snare, a process that cannot be achieved with regular EQing.
Conclusion
Well, when it comes to snare EQ settings, cutting and boosting frequencies, and some extra tips that you can perform to adjust the frequency curve, this article is enough. A similar goes for the kick drum as well, but that will be a separate article since they do not have the same frequencies.
So no need for extra words just to make this guide lengthy, this is enough for the topic of EQing the snare. Doing this will give you a completely punchy sound that is round and snare-like. We will cover other processes as well, but all in good time!
If you have something to add or want to make any point that we maybe missed, please let us know in the comment section and we will be happy to listen, elaborate and update!
Best Mastering Equalizers: Shape Your Final Frequencies!
Best 500 Series Equalizers: Top 10 Models To Shape Your Frequencies!
Bettermaker Stereo Passive Equalizer Review: New Pultec-Style Equalizer!
Heritage Audio Motorcity EQualizer Review: Amazing 7-band Mono Passive EQ!
API Select SV14 Review: Great New 500 Series EQ from API! (2023)