How to Mix a Kick
Introduction
The kick drum is an integral piece to grasp when mixing a track. It typically serves as the heartbeat that retains all different components glued together ahead and creates a basis for the production.
Sadly, there are quite a lot of misconceptions around correctly mixing the kick drum and it’s not given practically sufficient consideration within the mix stage. So, we’ve devoted this complete post to serving up-and-coming engineers’ master professional methods for getting the kick to sit down in a mix.
Mixing the kick is an art, and you need to take it seriously! Below we have listed a bunch of steps that you can look into to improve your kick mixing, so let’s dig in!
Compressing Kick
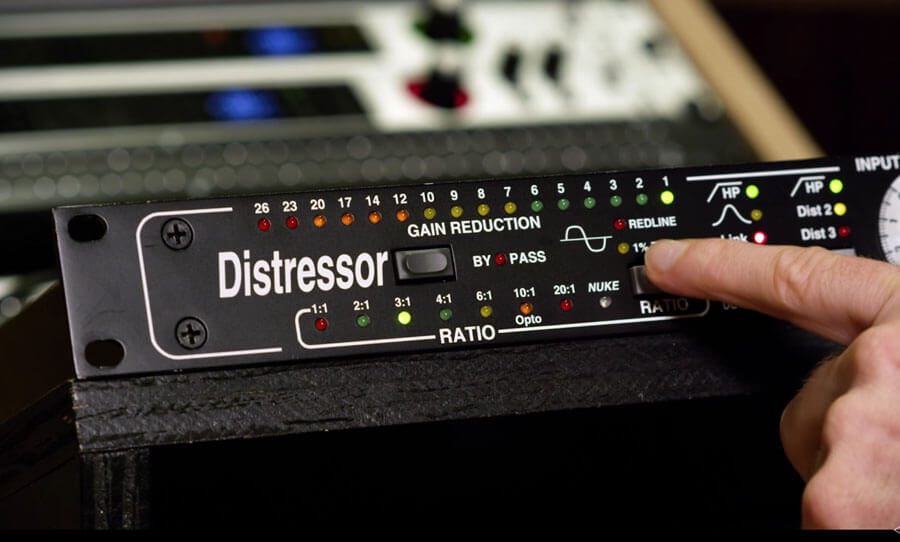
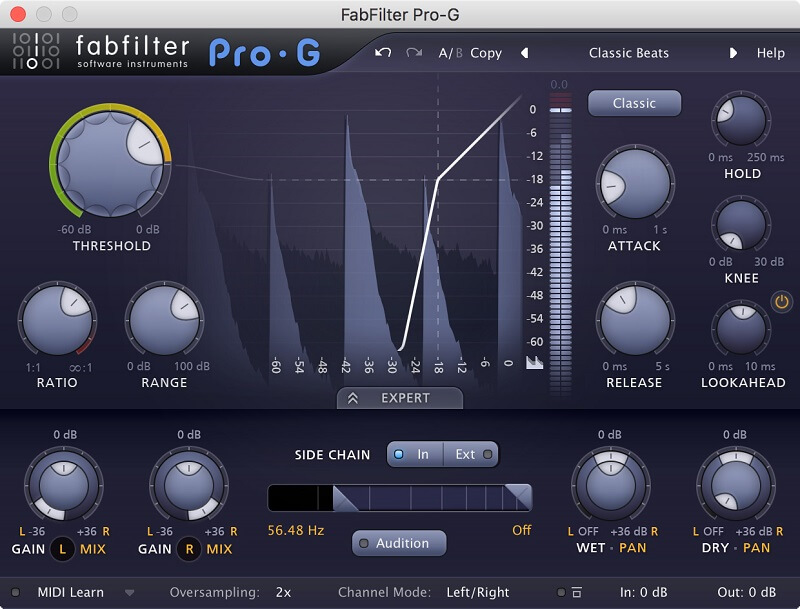
Through the use of compression, your intention is to add some transients and punch to the kick hits. For that reason, we’ll use compressors such as the SSL Compressor and the Distressor. For a Distressor Plugin simply go to this web page and obtain it without cost (by the way nice work Antress Team).
A 4:1 to 8:1 Ratio with a Slow attack and a Quick release are the key parts right here since we use compression to create a punch. A limiter to catch the remaining sudden peaks might be helpful for those who use it actually gently trigger an excessive amount of will kill your punch (limiters have extremely quick attacks and a ratio greater than 10:1).
Lots of people assume that a louder kick is better however that’s not true. You need to listen to what the compressor is doing to your kick, not merely crank up the volume. If the kick is to be a focus (like it’s in most electronica) you need it to sit around -3 dB to -5 dB.
Keep in mind that every kick is unique in addition to the mix that it’s a part of. There aren’t any magic guidelines when compressing, you merely need to tweak till you discover what sounds best in your project.
EQ Kick
It’s essential to emphasize the low end of the kick with EQ. In case you really feel there isn’t sufficient bass to your kick drum, low shelving enhancement around 80 – 100 Hz usually does the trick.
A boomy kick drum may also cloud up the clarity of your kick drum sound, so it’s often a good suggestion to chop around 200 – 250 Hz for those who really feel there’s an excessive amount of muddiness in your kick drum sound.
A boxy kick drum sound can be a typical nuisance, which could be fixed by EQing out the boxiness that resides within the space around 300 – 600Hz or so.
In case your kick drum is all thump and no snap, then we have to deliver the sound of the beater. We will often discover it across the 2 – 4 kHz area. Relying on the style of the track, and the kind of beater used, totally different frequency boosts within the beater space generate totally different sounds.
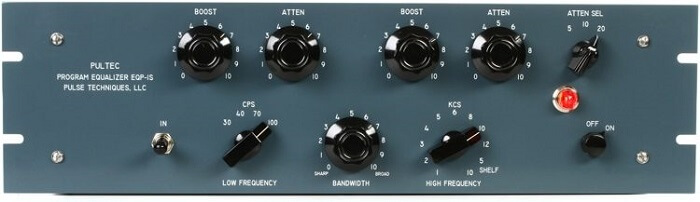
A lift at 2.5 kHz is extra of a typical rock sound versus a narrower enhance at around 4 kHz, which ends up in a Hardcore Metal sort snap.
When it comes to EQing your kick, you will need to take care of these spots to make your kick shine through. Do not rely only on EQing though – all other processes are important as well. A high-pass filter is not something that you shouldn’t use.
Sometimes if the kick drum is not the leader in the low end, you can cut off the lows with a high pass filter and leave a bit more space for the subs.
By doing this, you are creating nice coherence between the kick and bass, which are two elements that you want to work well together. They will create what will be the pillar in the low end and if this is not done right, you will have a huge problem in the low-end area.
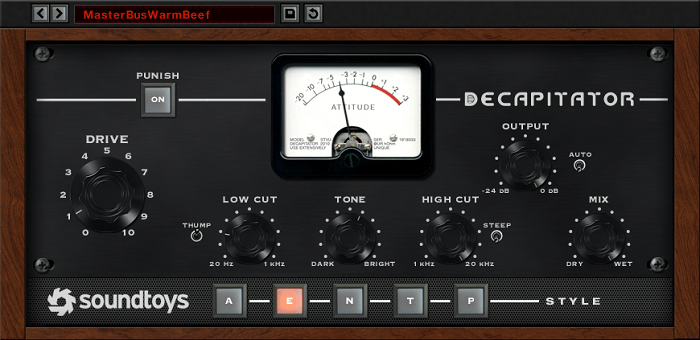
Saturation on Kick
Saturation is a good method to add harmonics to a kick drum. You may make a sampled sound stronger by saturating it slightly. With saturation – and in some instances distortion – you can also make a kick sound grittier and give it extra personality, to make it extra distinguishable in a busy mix.
You would possibly think about running a parallel channel of saturated kick drum after which add it to your unique sound so that you don’t utterly destroy the unique sound. However, you add penetration and loudness to it.
The saturation is a process that we always look to do right because this is what gives the kick the roundness and the balance in the frequency spectrum. With good and proper saturation, you will make your kick complete and it will gain “weight”, meaning that the body will be shaped right.
If you are looking for a more aggressive approach, you can try with some soft distortion or soft/hard clipping, but our suggestion is to thread carefully with these effects because if executed poorly, you will ruin your kick signal.
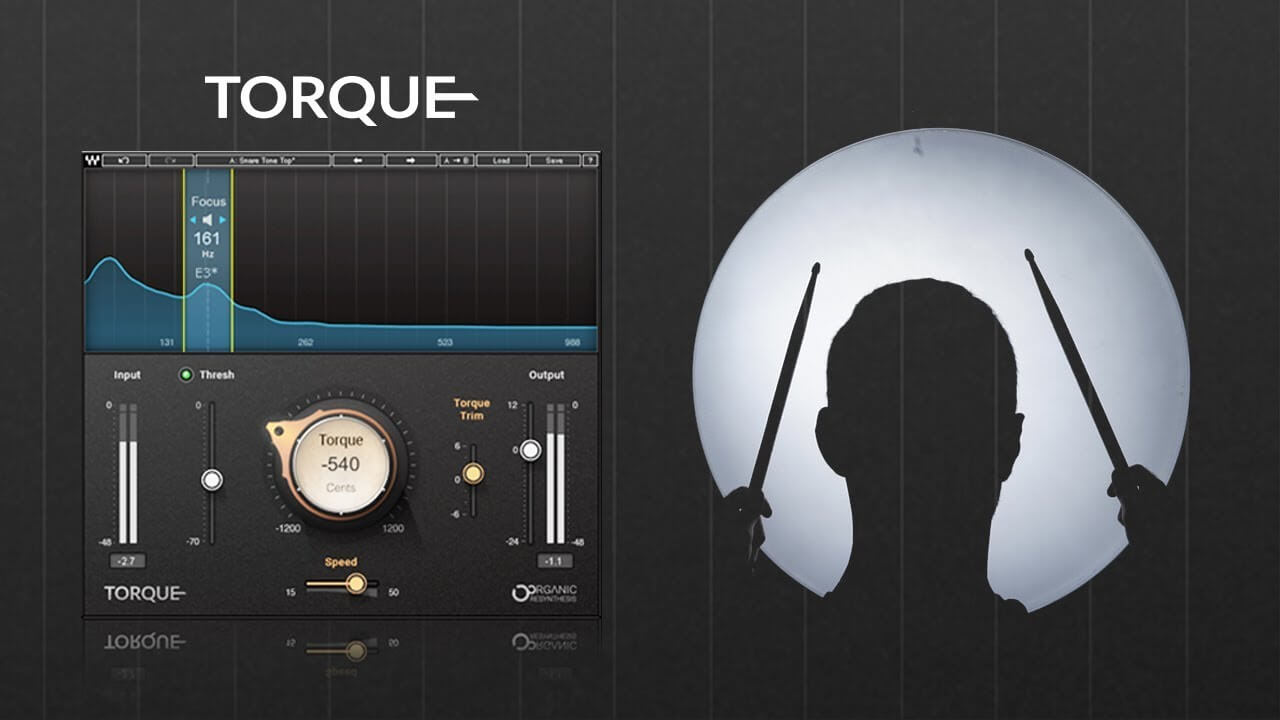
Tuning the Kick
When selecting a kick, it’s typically vital to consider its relation to the key of your track. Tuning the kick to the key of your track will assist it to sit better within the mix.
Additionally, tuned kick drums typically sound harmonically pleasing within the mix and have a tendency to groove better with the bass. That is always the goal – how to mix a kick and not interfere with other lower-frequency tracks.
This method requires discovering the foundation note of your track after which matching the key of the kick to that note. There are a number of methods to establish a kick’s root note.
EQs with a frequency analyzer work nicely in addition to tuning gadgets like Ableton Live’s Tuner. For instance, analyzers will show the dominant resonant that signifies the kick’s elementary note. As soon as you understand the root note of your kick, transpose its pitch to the specified key.
The benefits of tuning the kick are obvious. You will tune them to the key of the song and the kick will sound in tune with your song. But this needs to be a procedure that you will need to do on every element when you are mixing drums.
Mixing drums is a detailed process where you will need to pay attention to every element separately, yet mix them like they are one.
So tuning the elements should be a process that you do not want to skip if you want to have a coherent drum instrument. Of course, you can skip it, but it might sound off when played in context and it will sound like to completely forgot about the mixing drums step.
Gate Your Kick
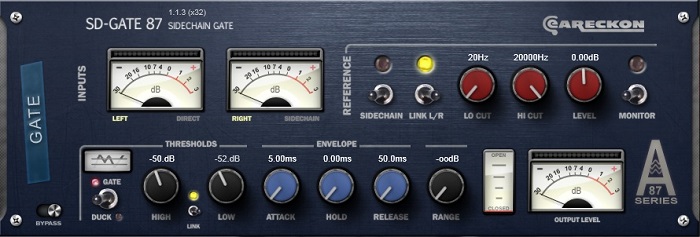
You’ve got recorded a kick drum and it is time to do some processing. It’s possible you’ll discover that your kick has bled from the remainder of the drum kit. If that is so, use a gate to clear some undesirable noise.
Place the gate in your kick drum track. Set the threshold in order that it’s only triggered by the kick. Use a quick attack time and a medium release time. Alter the release while listening, as this may change for various tempos and types of music.
For a natural sound, strive to decrease the gain reduction by only 9dB – 12dB. This can permit the remainder of the drum kit to come back in a delicate, natural way.
The important thing about gating is that it is easy to overdo it and drain the life out of your recorded kick. You will need to listen to the sample many times over to check out if you are doing any unnatural cutting that you will need to fix.
If you are having any second thoughts about how your gate sounds on your kick, it is better to leave it out and find an alternative way of cutting the excessive stuff from your kick drum sound.
Maybe find a gate that has attack and release parameters to adjust it more precisely or go by the simple cut and delete of fade in and out process.
These two processes might be manual labor that you will need to do for your kick drum sound, but they are definitively working fine and you will be able to trim the extra sounds without any difficulties.
In opposition to a gating plugin, this will take much more time because you will need to double-check every single kick and fix it accordingly. If you are short on time, we suggest going with the gate plugin, but if you do not have any deadlines, brew some fresh coffee and prepare your DAW scissors to make those cuts!
Layering
Next time you’re processing a digital kick drum, strive to send it to 2 or three busses before splitting them into high, mid, and low bands using linear-phase filtering. In case you do it this manner, you’ll be able to then add individual effects to every band, making an extra distinctive kick, in the same technique as splitting and processing synth basses. This process is one of the secrets on how to mix a kick, focus on it!
By now you’ve hopefully realized simply how a lot goes into correctly mixing kick drums. Begin by eradicating downside areas with EQ then improve them. Adding effects like the compression is a good alternative when used correctly however watch out with reverb.
Lastly, take into consideration the opposite areas of your mix which will have a bearing on the kick drum such as the bass guitar, overhead EQ, and higher-range content material.
The layering can also be done by simply adding kick samples that are containing information that your first pick is missing. That’s why is important to make a great kick selection even before starting the mix on the kick.
You will need to lead with that, to have a sample that sounds good and give the kick the needed importance from the very beginning.
But in case you already picked a kick that you liked and are missing something, layering is one option that you can go for to make it whole. Again, by doing this it will be like you to use EQ, but you will have complete control over the bands.
So bear this in mind when you are processing your kick because it is something that is done around.
Few Tips on Mixing the Kick Drum
Triggers
There’s a variety of stigma around using triggers on a drum set. Nevertheless, executed correctly a triggered may be extraordinarily clear and actually assist your kick drum to sit in a mix. Steven Slate’s Trigger is a great tool when mixing kick drums.
Utilizing a software program similar to Steven Slate’s Trigger is a prominent approach in modern music production and nothing to be ashamed of. Attempt to deal with the triggered samples as an augmentation of the unique kick nevertheless and never a replacement.
Don’t use only one trigger sound. Lightly mix the sound of a number of distinct samples, each on their very own fader to let you mix between them. In this approach they act nearly like an EQ, every bringing out a certain taste when mixing your kick drum.
Trigger 2 by Steven Slate

Select the proper sample
Begin off by selecting wisely your kick drum. Why select a lame kick drum sample and spend a number of hours attempting to make it nice? You may succeed or you could not, nonetheless, it is going to typically just kill your motivation before you get there.
As an alternative, search for good kick samples on well-established sample portals or use a very good kick drum synthesizer and do your tweaks from there!
When you’ve chosen your kick, set the volume with only a few dB of headroom to start out with. If you’re completely happy with your selection of the kick drum and shifting on to the bass line(s) and different low-end associated components, then be certain that nothing overrides the kick gain-wise.

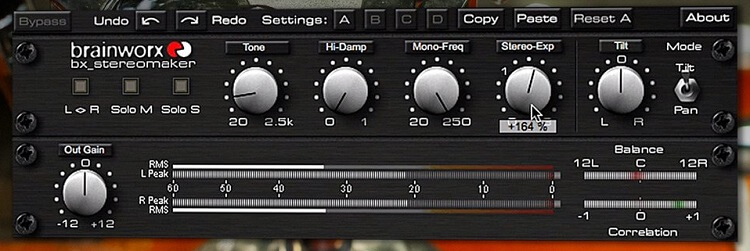
Mono your kick drums
Your kick drum must be put into mono to make sure there might be no phase issues in your mix. There are many mono maker plugins on the market to get your kick into a mono mode with only one single knob flip. There are many vectorscope-free plugins on the market to use checking in case your kick is in stereo or mono.
A straight line in a vectorscope defines if the signal is in mono, so search for that! The same goes in your sub-bass, we at all times make sure that our sub-bass is set to mono fully or at least below 120hz.
bx_stereomaker by Brainworx
Sidechaining
This is a technique that is widely known to give the kick the much-needed space in the frequency spectrum. By simply adding sidechain compression to the kick and to the element that is opposing the kick, you will make a spot for the kick to shine through the mix.
Add a compressor to the element that works against the kick and activate the sidechain option on it. Then route it to the kick, meaning that every time the kick hits, this element or group of elements will duck down. Try to have a fast attack and enough release for the kick body to go through and you will be good.
There is nothing wrong with this process, so do not hesitate if you are doing something that is completely off from the process. Many people reach for the sidechain method to give space to their focal elements, which in our case today – is the kick!
Conclusion
So that will conclude our take on processes on how to mix your kick drum and we believe that we provided nice pointers on what you can do to enhance your sound. The kick is a delicate element that takes lots of time to master, so no rush to get to the goal.
So experiment around and practice a lot with various kick samples. Even if you are not working on any project, simply load a bunch of kicks in a brand-new session and test out different versions of processing and chains.
If you are taking the mixing job seriously, this is one of the steps that you need to do in order to improve. Mixing is a technique that fades if not practiced often, so take care of that.
Everything else will come naturally and you will notice the improvements when you compare your mixes with commercial-level songs. That is another thing that you will need to do, so head away and do not despair!