Harmful Gain Staging Mistakes
Introduction
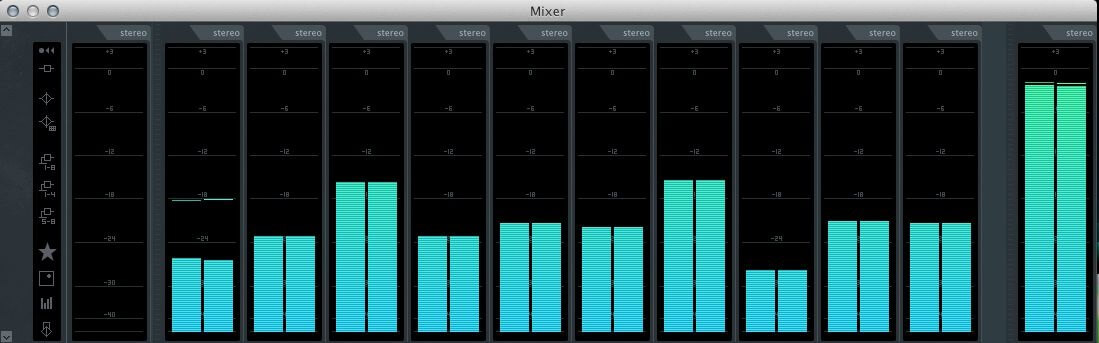
Everybody wonders how should they start the mix and move on. Some start with mixing the drums first, others with the vocals, and many other starting points. But in fact, there is one process that you need to do first before even applying the processors and effects to your signals – and that is the Gain Staging.
To briefly explain what this process is: This is the point where you set the basic stage of your mix with the faders in your mixer and balance the loudness of each track in your song. After that, you simply need to follow what you’ve initially set and try not to sway from it. If you want to read more on the gain staging process, read our full article on it.
Truth is that many neglect this process after setting it and even not doing it at all, and that is what we are going to talk about in this article here today. We are going to list some of the most harmful gain staging mistakes in order for you to have an idea of what you might be doing wrong and straighten your staging game. Let’s start with the most important one we have in mind:
Mistake #1 – Not Doing Gain Staging At All
Actually, this is not a mistake you are doing with the gain staging – but skipping the whole process is a mistake that you are doing in the first place.
Ignoring this may give you horrible outcomes. And it doesn’t matter if you’re mixing inside your song-creating session or whether you’ve actually received bounced-down stems, gain staging is tremendously essential for both.
And once again, it doesn’t matter whichever DAW you’re utilizing, whether or not you’re using Ableton, FL Studio, or Cubase, and it doesn’t matter which style of music you might be creating as well.
Finally, we need to be sure that we’ve got sufficient headroom. This means space before we hit the clipping stage when things begin to go a bit distorted. And in the end, when all our tracks are playing together, we wish our master channel to be peaking at about minus six.
Also, it’s better for you to do some basic research or remind yourself of the process to fully understand it because it is harmful at the same level if done wrong compared to not doing it at all.
Mistake #2 – Ignoring Plugins Input and Output Gain Knobs
Most plug-ins have input and output gain controls which can be offered to permit the user to regulate the signal level coming into the processor, and the extent of exiting the plugin. By default, these will at all times be set at Unity Gain, so they don’t essentially need to be modified.
If the incoming signal is at an acceptable level, and the processing doesn’t drastically change that level of the outgoing track, then it’s best to simply leave them alone. However typically, the incoming signal won’t be at the most effective level, and the plugin’s processing might alter that level to a big degree, and that’s when you’ll need to utilize these level changes.
A particularly hot signal could also be more than the plugin is expecting, and decreasing the input gain would yield higher processing outcomes. A superb instance can be a compressor or any dynamics processor.
In case you’re used to dialing up, say, certain threshold settings that you understand ought to work nicely, a signal that’s abnormally hot or low in level might not react as anticipated, making the job of getting simply the proper level of effect that rather more difficult.
When the incoming level is an issue, you’ll need to fix that at step one within the plugin chain, using any Input Gain management the plug-in gives. As soon as the optimum input degree has been set, you’ll need to keep that degree from insert to insert, so any time you take away or bypass an effect, the extent of that track within the mix stays constant.

Mistake #3 – Forgetting to Maintain the Stage Between Plugins
Okay, so you’ve already set everything up and you started your mixing process. You add more and more plugins to shape the signal to your liking. With every plugin you add and if you boost something in there, no matter if it is a compressor, equalizer, or any timed effect, that will add to the complete level of that signal.
And at the end, again your signal will be higher that the one you initially set at the gain staging process. Here is what you will need to do. Always follow your meters and check how loud your signal is now after you tweaked your knobs. If it is hotter than before, use the output knob to trim it down or if it is quieter, boost it to match the initial stage.
This is a mistake shared from our own experience that we’ve done previously. In the heat of mixing, you might not pay close attention to this, and in the end, after applying processors and effects to every channel, your track will again sound cluttered like the gain staging process is not even done.
So the final word here is to not forget about trimming the levels to the initial stage you’ve set in order to maintain the image you created at the beginning of the mixing process.
Mistake #4 – Not Adjusting the FX Tracks to the Signal Tracks
This mistake particularly happens when you are adding parallel processing to the desired signal. Initially, the parallel processing creates another channel of the effect you want to parallelly add to the signal. One thing that you will be able to notice straight away is the change of volume of this track once the effect is routed to the signal.
And here is where the problem happens. After tweaking the settings of the effect, we tend to balance it up to taste with the original signal and move on, but here actually is the place where we need to double-check how much louder the signal became.
What you will need to do here is rebalance the both original and processed FX signal to match the gain staging point of that particular signal. Let’s say you added reverb. Tweaked the reverb to taste and blended it in with the original track. Even when blended, it might boost some dB of the whole signal. Now, you might want to take both tracks down and simply match the loudness from before and you are good to go.

Mistake #5 – Messing with Master Fader
The Master fader also needs to be left at Unity Gain. It will possibly sometimes be tempting to make use of it as handy volume management to regulate your listening level, however, you need to keep away from this at any cost!
Not only will you not be a useful readout of the general stage of the mix, but it’s also too straightforward to neglect and unintentionally bounce the track at an attenuated stage, which can go unnoticed till some inconvenient moment when the error proves.
And when you’re prepping a 16-bit master for CD duplication/distribution, with a Dither plug-in appropriately added in the final insert slot, you’ll want to be particularly cautious to not deviate from Unity Gain with the Master Fader, which might negate the advantages of the Dither.
If you keep track of all these aforementioned mistakes that we mentioned, you will have no problem with the levels of your individual tracks, groups, or at the master fader meter. Do not overlook this process since can make or break your song.
Conclusion
So that’s it. We narrowed down what we thought are the most common gain staging mistakes that every beginner and even experienced engineer might make. Take care of the levels, that is the final verdict of this whole article.
In case you are having any questions in regards to this topic we covered here in this blog post, please let us know in the comment section below and we will be more than happy to elaborate!