Tips to Improve Mix Translation
Introduction
Many engineers work and produce their music to the best of their capabilities. And even if they give 100% to their mix, sometimes when checked on different systems, they might not be satisfied with the outcome of the result.
As many listeners consume the music on affordable earpieces, laptops, or phone systems, we need to try and make the music sound properly on all the settings our listeners are having. Also, we need to try and make the song sound good on most common speakers and not lose quality in translation to these systems.
In this article, we are going to provide some tips on how you can improve the mix translation on many various speakers in order to get the best possible quality of your music.
1. Less is More
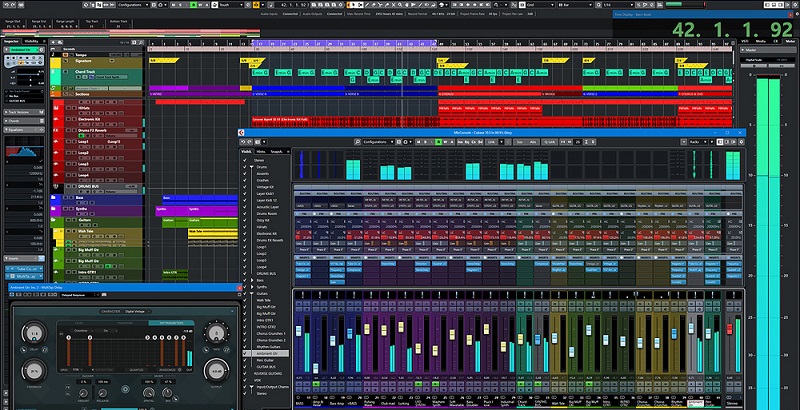
The artwork of attaining good translation begins throughout the earliest stages of production and is not simply something that’s achieved via a few tips at mixdown. To create mixes that are actually clear on a lot of systems you need to actually take into consideration the elements you might be placing into the project from the start.
Less actually is more right here. A track with 100 totally different instruments might sound nice on your studio monitors in a managed setting, but if not done right, it might sound really cluttered once played on more common systems.
It is well worth taking a really considered method when throwing down components for a brand-new track. It isn’t always easy in the heat of the moment, when the artistic juices are flowing, however at the very least take a break when you may have recorded your preliminary instruments, come back to the song, and be ruthless about what stays and what goes.
When you may have chosen the final elements that may make up the track, sculpt them rigorously so that they occupy their very own space and are usually not at odds with each other.
In case you can achieve this throughout every project, half the battle is won before you even get to the ultimate mixing and mastering stage. It’s common sense but clear uncluttered mixes are inclined to work on more systems than mixes with big numbers of conflicting parts.
2. Improve Room Acoustics
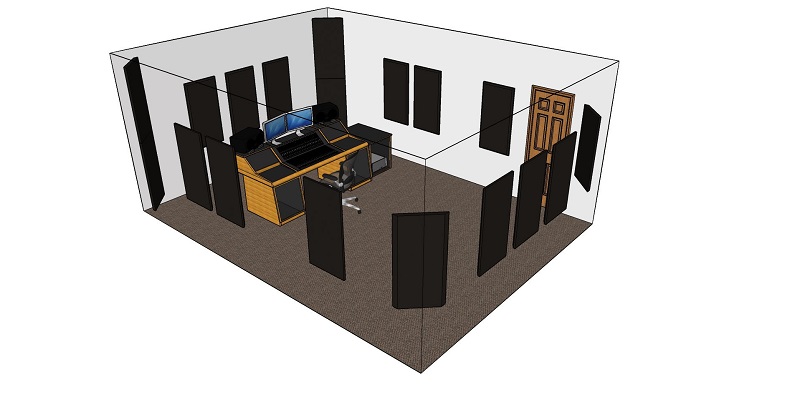
Even though this goes without saying, it is really worth mentioning. As we mentioned in one of our books, from experience and long-time work – the room acoustics are really crucial when getting the final result of your song.
If you mix in an environment that is not completely treated, you will definitely get translation problems. For example, if your room generates more bass than usual, you will mix your song to fit the bass frequencies you are perceiving and lower the bass, but in reality, your song will miss bass since the room adds to the final outcome.
That’s why is important to have the room treated and get the flattest possible curve at your listening spot. Our suggestion is if you cannot create an entirely acoustic environment, try at least treat the most critical areas of your room. This will significantly improve the sound and with that the outcome of your mixes.
Check our articles that can help out with this point:
- DIY Sound Diffusers: Great Method to Make Skyline Diffusers!
- How to Make Bass Traps: 5 Easy Steps for DIY Acoustics!
- Best Sound Acoustic Panels: Top 8 Premade Panels + Buyers Guide!
3. Improve Monitoring
We are going to separate this topic since there are several points that you need to take care of and get the best setting for your mixes to shine. Let’s check them out.
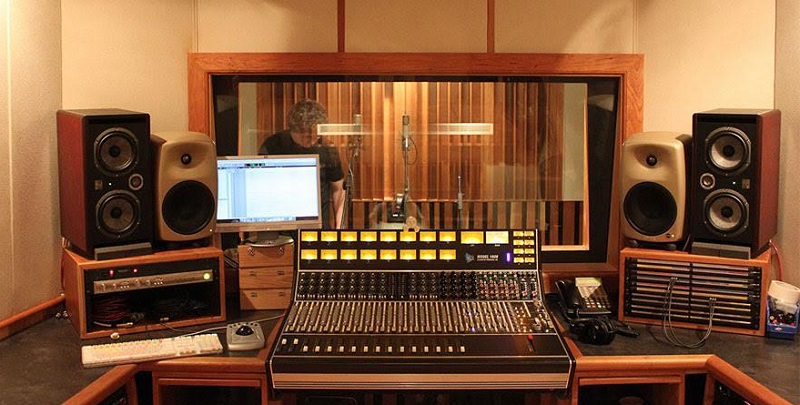
- Get Reference Monitors – This is a pretty clear point. We understand that not all of us can afford Barefoots, but get the best you can for your budget. Do research for getting the right monitor speakers for your genre and room size and get them. Do not stay with your basic Logitech PC speakers and expect to get amazing results.
- Learn Your Monitors – Even if you get 150$ monitor set, you will need to learn them and get the best possible sound out of them. Check their frequency response charts, listen to the genre you are working on them, and analyze what you hear. Once familiar with them, your mixes will certainly improve.
- Get Avantone MixCubes Style Speakers – In the event you can afford to get a MixCube speaker, get them. Even one can improve the insights on your mix. They are amazing for emulating lower-quality speakers and for checking the mix in mono. If you want to read more about them, you can do that here!
- Monitor Positioning – It is really important to place your monitors correctly on your desk or stands. Check online what are the best positions for the monitors you have and the room you are working in.
4. Work on Optimal Loudness
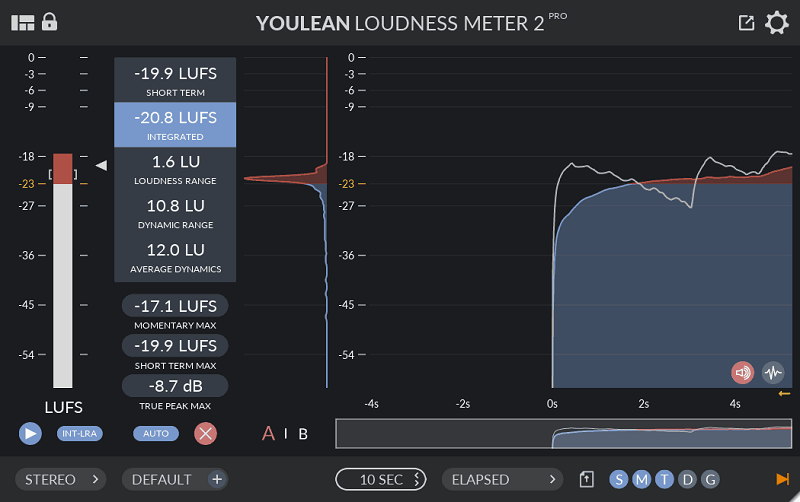
If you happen to listen loud on a regular basis, take into account how your ears perform in that atmosphere. Do they compress? Typically, ears that are exposed to excessive volumes really compress the sound to try to guard your hearing.
Right here, the eardrums can go stiff and provide you with a less-than-optimal hearing response after they’re overly stimulated by the loud sound. In this case, you won’t hear dynamics nicely in any respect and also you run the risk of over-stimulating your ears to the point of harm. In case you listen too loud, you may experience tinnitus, which is a ringing in your ears at very excessive pitches. If tinnitus doesn’t go away, your listening is already severely compromised.
Modest volume, in this case, means barely increased than dialog but lower than club (threshold of pain) volume. The volume varies from about 75 to 90 dB SPL, but most frequently in small rooms, it hovers at about 80 dB SPL. This allows you to hear the dynamics of performance and block out low-level noise while keeping a high enough volume to get good efficiency out of your ears.
5. Make Frequency Balanced Mix
Now that we covered all the basics that you need to set properly even before starting your mixing session, we are going to talk a little bit about some stuff that you can take care of when you start the process and get a nice balance of the frequencies in your mix is one of them.
Focusing on fixing the balance of the frequencies will ensure one thing: not having some areas in the spectrum stand out or not be audible enough. By doing that, you will make sure that the song translates all the frequencies properly.
And with that being said, you will still need to find the best balance between the flattened frequencies and the curve you want to follow. That means that the frequency balance is not only to make the curve sound even across the spectrum but accentuate certain areas and still have a great result in the end. In brief words, the balance between a flat curve and the curve you are after or your genre requires, which leads us…
6. Know Your Genre
At this stage, we are going to suppose that you are already acknowledged with your genre and you already listened to a gazillion songs in your genre with the aim of analyzing how they sound, how they are built, and what elements they consist in them.
And part of that analysis is listening to the genre you work in on various systems and noting down how certain songs sound. This is a really important step that is not being mentioned enough. Once you get accustomed to the genre on many systems, you will be able to reproduce the quality and the mix to match the quality of the hit records you like.
Another small suggestion is not to blindly follow your genre. If one thing worked for one engineer, that might not be the case for you, which leaves us space to experiment and find the best possible outcome for the song we have at hand.
7. Check on Various Systems
We believe that this goes without saying, but it is truly worth mentioning in this article. When we previously said that you need to check the hit songs in your genre on various systems, here is the spot where you will need to check how your songs perform on those systems as well.
And in close comparison and playing side by side or trying to mix your song with others in the genre will give you some answers straight away. If there is something wrong or not achieved yet, you will notice it really fast. The proper thing at this point is to write down all the points that you need to adjust, go back in the mix and fix them.
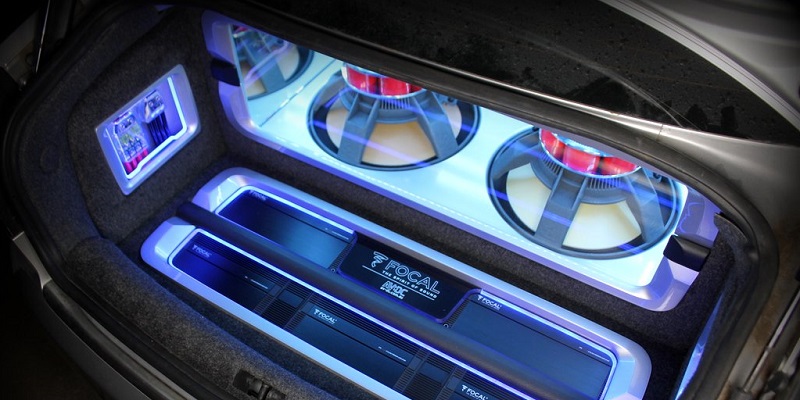
Check your mix on old stereo systems, your car, your laptop, and mobile speakers. Here you also can check your song on mixing open-back headphones and then again on earbuds or a basic consumer headset. All these systems will give you enough data for you to improve the mix of your song and make it translate better on many of these systems. That should be the ultimate goal for you here – to make your song sound good on as many systems as possible.
8. Use Reference Track
Let’s get back in your studio. Let’s assume that you already fixed your song based on analyzing your genre and checking it on many other systems. Now it’s time to directly compare it with a hit song in the same genre you are working in.
When you compare your song to a commercially released track that is already successful you will be able to directly match some areas and make your song as close to the other song as possible – mixing-wise.
We are not saying that you need to copy everything, but the balance of the mix and the techniques used to make the song translate better. If you already have a reference song that translates well, why not use that as a guideline that you need to follow for your song as well?
Also, spend a good afternoon finding many reference songs from your genre. Do not compare your song to another one that is not that great. Find the best possible quality songs and store them in your computer – and when needed, recall them in your DAW and compare + copy the good stuff from them. Many professionals are doing the same, so why not you as well?
9. Professional and Client Feedback
Probably one of the last steps that you can take is to check with your professional mixer friends and see what they think of the mix. Do not invite them to your studio, but send the song over to them and let them check it on their system. Asks for a professional opinion on it and based on that you might address some areas that need some improvement.
Once done, check what your client thinks (if you work for a client and not for yourself). They will also give you some guidelines that you might follow. Mostly they will be to satisfy the client’s needs and how they want the song to sound, but a happy customer is always good + they might give you some great points that you can check.
Feedback is always good if it’s in the right tone. Do not listen to engineers full of ego (and there are many) that will only give you “advice” because they know “too much”. After all, trust your gut and go with a reserve when deciding if that will be the final mix you will go for.
Get their advice only if you notice that there are translation problems on their end. That is the primary focus when asking for their opinion and always double-check the points they’ve made.
Conclusion
Mix translation is always a pain in the butt, but once mastered, you will have smooth sailing after that. In this article, we shared some tips to improve mix translation and we believe that if you decide to follow them, you will get your mix to translate better than before, of course, if you were facing such problems.
In case you are having any other questions or suggestions in regard to this topic, we will be more than happy to listen to them and insert them in our article if you make a good point. To do that, head down to the comment section and shoot your idea for better translation and we can elaborate from there!
Best Mastering Equalizers: Shape Your Final Frequencies! (2023)
Top 10 Shotgun Microphones: Best Shotgun Mics You Can Get Your Hands On! (2023)
AKAI Professional MPC Key 61 Review: Great New Standalone Sampler and Sequencer from AKAI!


